Suggerimenti su Nexus 9:le prime 9 cose che devi fare
Se sei uno dei tanti che si è precipitato a prendere un Nexus 9 non appena è apparso nel Google Play Store o nel tuo punto vendita locale, allora potresti essere immerso fino alle ginocchia in Android 5.0 Lollipop e non saperlo nemmeno diventa ancora meglio di quanto non sia attualmente. Tutto quello che devi fare è modificare un paio di cose per rendere il Nexus 9 con Android ancora migliore. Ecco i nostri suggerimenti essenziali su Nexus 9 che dovrebbero essere le prime cose che fai quando lo estrai dalla scatola.
- Recensione su Nexus 9
Usa Tocca e vai
Se hai un dispositivo Android con NFC e Bluetooth, che sono praticamente tutti, allora dovresti davvero usare la funzione Tap &Go quando configuri per la prima volta il tuo Nexus 9. Durante la prima esecuzione della configurazione verrai nella schermata Tocca e vai.
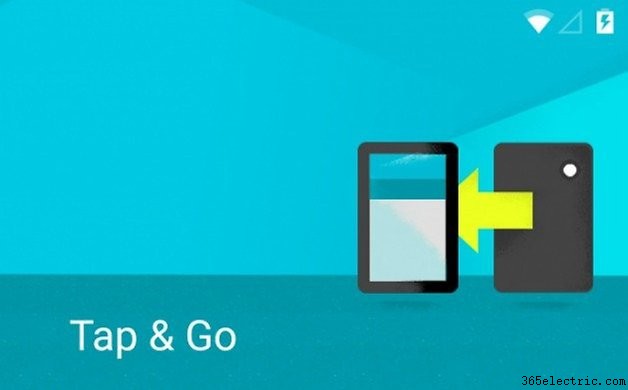
Prendi l'altro dispositivo (con NFC e Bluetooth abilitati) e tocca i due insieme. Sentirai il suono di associazione NFC e il trasferimento Bluetooth di tutte le tue app, account e dati inizierà la migrazione sul tuo nuovo tablet. È veloce, facile e davvero geniale.
Configura il risparmio batteria del Nexus 9
Una delle più grandi funzionalità di Android 5.0 è la nuova modalità di risparmio batteria di serie. Certo, questo genere di cose è stato presente su tutti gli altri flagship OEM quest'anno, ma non era mai stata una caratteristica di Android stock prima.
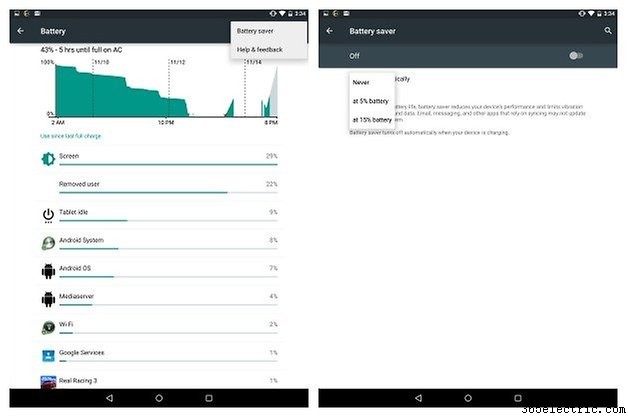
Vai su Impostazioni> Batteria e premi quel piccolo pulsante del menu di overflow nell'angolo in alto a destra e attiva Risparmio batteria. Puoi quindi scegliere se accenderlo al 15% o al 5% rimanente. Credimi, l'effetto di risparmio batteria che ha quando stai esaurendo la carica lo rende essenziale.
- Durata della batteria di Android 5.0:tutto ciò che devi sapere
Reindirizza la tua email a Gmail (ed elimina l'app morta)
Sembra super strano, ma Google ha deciso di mantenere la vecchia app Email sul Nexus 9, ma quando la apri c'è una schermata iniziale per dirti che ora vive sotto l'occhio vigile dell'app Gmail. Quindi, in pratica è un'icona vuota che occupa spazio nel cassetto delle app senza motivo. Quindi avvia l'''app'' e spunta la casellina che ti reindirizza a Gmail nel caso in cui in un momento di dimenticanza tocchi accidentalmente l'icona Email invece dell'icona Gmail.
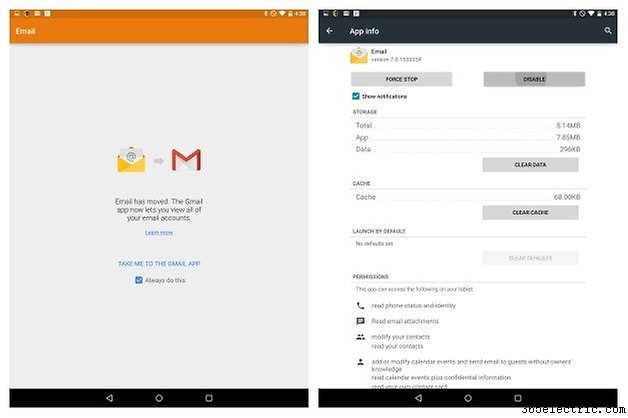
Ma poi vuoi sbarazzarti anche dell'app vuota. Quindi vai su Impostazioni> App e trova Email nella scheda Tutto. Entra e disabilitalo. It will now disappear from your app drawer but any Exchange or Yahoo, Outlook etc accounts that you have will still be redirected to the Gmail app via Exchange Services. The Email app will now live in limbo on the Disabled tab in Apps if you ever decide you want a useless app icon in your app drawer in the future.
- Android Lollipop vs Android KitKat
Familiarize yourself Interruptions and Priorities
When you first hit the volume button on your Nexus 9 you may notice there's some additional information there. ''None,'' ''Priority'' and ''All'' now appear underneath the volume slider. These are your Interruptions settings, which you can also access through Settings> Sound &Notification> Interruptions.
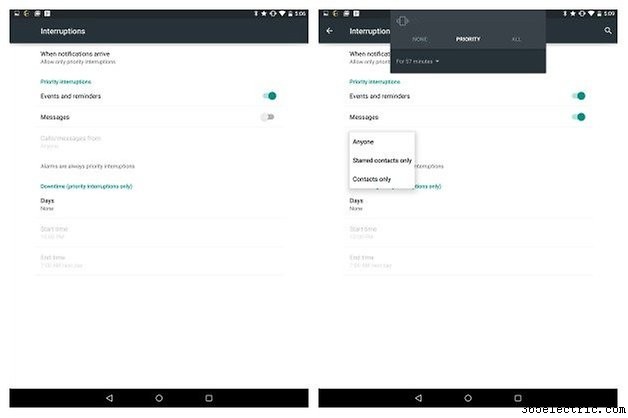
This setting lets you set up rules for what you consider to be priority interruptions as well as the days and times during which you want to be notified of them. So, for example, you can set Events &Reminders as priority notifications during work hours and perhaps phone calls and messages from your family only as well. Alarms are always priority notifications, so don't fret.
- Best Android 5.0 Lollipop features
Take control of Chrome
Fortunately, the Nexus 9 doesn't suffer from the same irritating default Chrome setting that the Nexus 5 does, where Chrome tabs are accessible through the Recent Apps list rather than through the in-app tab switcher. If you use other apps in between Chrome windows, your Chrome tabs will be separated in the Recents list.
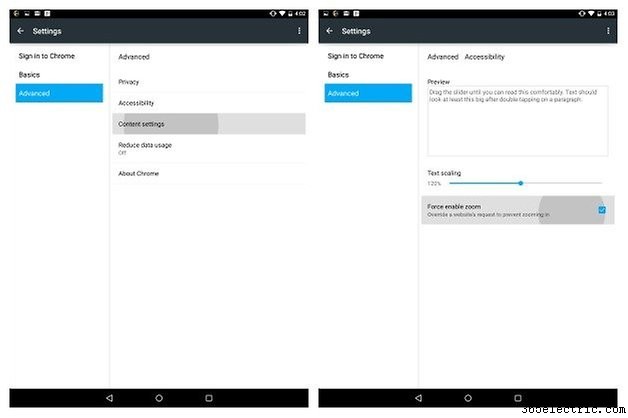
Fortunately you can change this in Chrome's settings, but the Nexus 9 has the traditional tab view. However, head to Chrome Settings anyway and go to the Advanced tab. Check the box for ''Force enable zoom'' to override website's that don't automatically let you zoom in, and set yourself a comfortable font size for when you double tap a paragraph in Chrome.
- Everything you need to know about Android 5.0 Lollipop
Get yourself a better music player
I mean, seriously. No offense Google, but I don't trust you to give me the best out of my sexy new BoomSound stereo-front-facing speakers. Sure, they’re bassy and loud but I want to tweak the living daylights out of them to get exactly the audio experience I want.
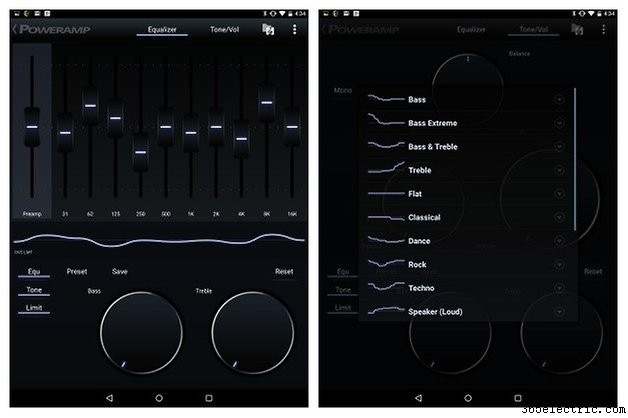
So head to the Play Store and grab an app with a great EQ like Poweramp. There's a free trial version but you'd do well to dig deep and fork out the couple of bucks it costs to get the full version because with speakers like this, you want them sounding their absolute best. BoomSound all the things!
Set up Smart Lock
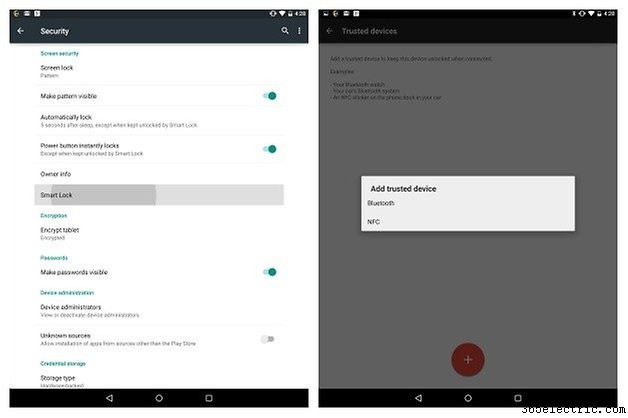
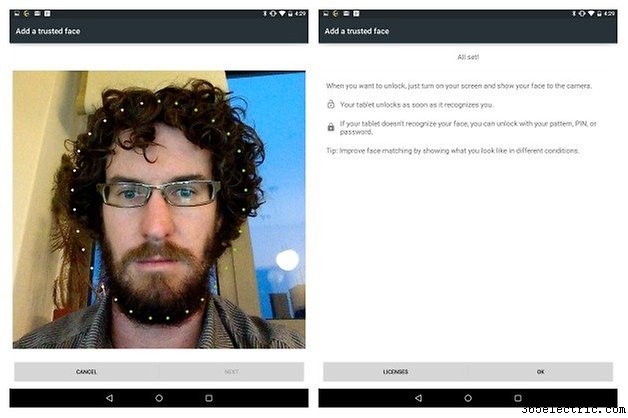
You're on the front foot of Android with the Nexus 9. One of the coolest features of Android 5.0 Lollipop is easily Trusted Devices, or personal unlocking if you prefer. Once you have a lock screen security set up, you will have access to the previously grayed out Smart lock section in Security.
- Android 5.0 security:everything you need to know
From here you can set your lovely mug as a Trusted Face or your smartwatch, an NFC badge or any other Bluetooth device as a Trusted Device, meaning that when you're in the vicinity of that Trusted Device you can bypass your lock screen security entirely. Once your Trusted Device is out of range, your lock screen security kicks back in. It's simple, brilliant and the future of mobile security.
Set your lock screen notifications
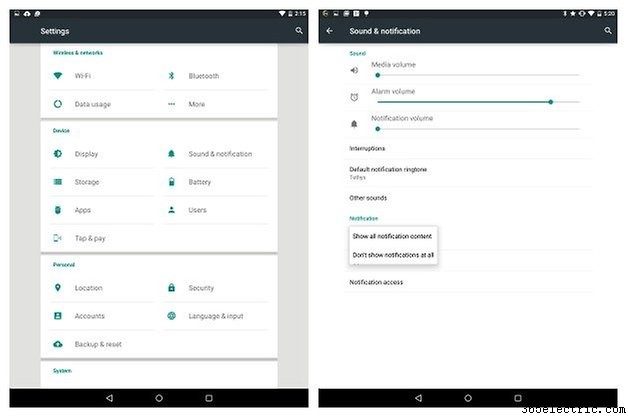
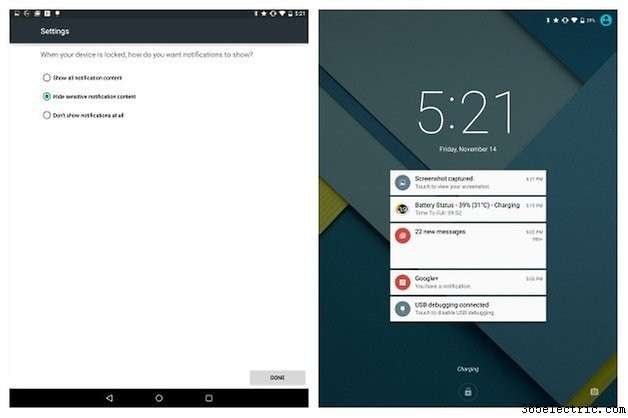
When you use swipe to unlock as your unlock method you only have two options for lock screen notification visibility:show all notifications or none at all (accessible in Settings> Sound &Notification> ''When device is locked''). Once you set up a more secure lock screen security option though, that expands to include another option:hide sensitive notification content.
This means that while you'll still be able to see that emails etc have arrived, you won't be able to swipe down to preview their contents on the lock screen unless you first enter your lock screen security method. While it's kinda cool to be able to see everything right there on the lock screen, perhaps you don't want just anyone that picks your Nexus 9 up to be able to see the same things.
Double tap to wake
Don't forget that the Nexus 9 supports double tap to wake! Quite possibly the greatest software feature to grace Android in the past year. When your screen is off, simply double tap it to wake it from sleep! If you install an alternate launcher like Nova Launcher, you can then turn it off again by double tapping in the status bar up top (accessible via Nova's settings).
What are your thoughts on the Nexus 9 so far? What's your favorite part of Android 5.0?