Come eliminare le rughe da uno schermo di proiezione
Immagina di sederti per sfondare nella tua nuova configurazione home theater. Inizi in streaming un film appena uscito, anticipando con entusiasmo ciò che accadrà.
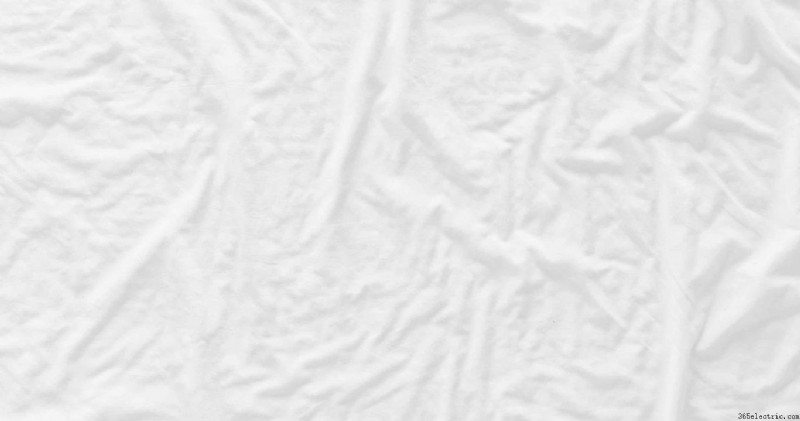
Poi, te ne accorgi:una ruga sullo schermo che distorce l'immagine quel tanto che basta per essere evidente. Devi togliere quella ruga!
Come eliminare le rughe da uno schermo di proiezione?
Applicare un calore minimo sulla schiena con un ferro da stiro o un asciugacapelli, posizionare lo schermo alla luce diretta del sole o alzare il riscaldamento centralizzato sono alcuni modi che aiutano a ridurre le rughe nello schermo di un proiettore. Altri metodi includono l'applicazione della tensione e l'accurata conservazione dello schermo del proiettore.
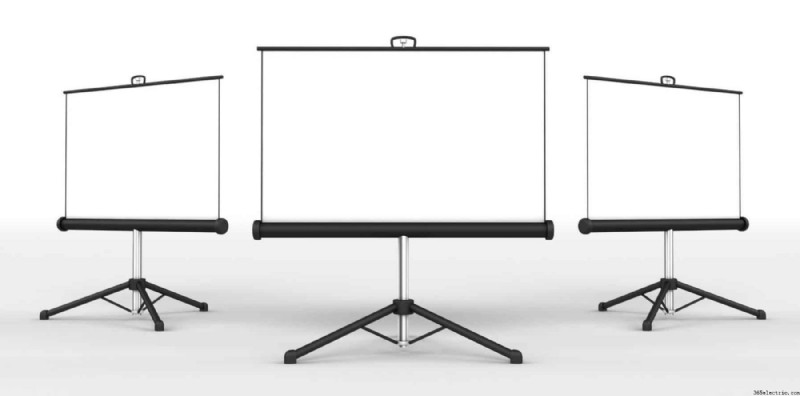
Dai un'occhiata alle mie scelte migliori per gli schermi per proiettori home theater.
È necessario prestare estrema attenzione con ogni metodo per evitare danni al materiale opaco o vinilico dello schermo.
Ovviamente, con qualsiasi metodo tu scelga, potresti dover ripetere i passaggi alcune volte a seconda della gravità delle rughe sullo schermo del proiettore.
Ma, con cautela applicata e pazienza nei tuoi sforzi, puoi tornare a goderti uno schermo di proiezione senza rughe in pochissimo tempo. Diamo un'occhiata più da vicino a come applicare ciascuno di questi metodi in modo più dettagliato.
Leggi anche:Pro e contro dell'utilizzo di un foglio come schermo del proiettore
1. Applicazione di calore minimo per rimuovere le rughe dello schermo di proiezione
Una delle opzioni più popolari per rimuovere le rughe dello schermo di proiezione è applicare il calore minimo con estrema cautela.
A seconda della gravità e della dimensione della ruga, potresti scegliere di cambiare approccio. Ma, con la pazienza e la capacità di lavorare a fuoco molto basso per un periodo più prolungato (anziché a fuoco alto per un tempo minimo), puoi farlo funzionare.
Ovviamente, come indicato sopra, dovrai usare la massima cautela, specialmente quando scegli un metodo di applicazione del calore per rimuovere le rughe sullo schermo di proiezione.
L'applicazione di un calore troppo elevato può causare danni al materiale sullo schermo, sciogliendo la parte posteriore dove si applica il calore o provocando danni simili alla parte anteriore dello schermo dove si noterà la piega mentre si guardano i film e altre forme di media.
Quindi, per applicare un calore minimo per rimuovere le rughe dello schermo di proiezione, considera queste opzioni:
Iron the Backside of the Projection Screen
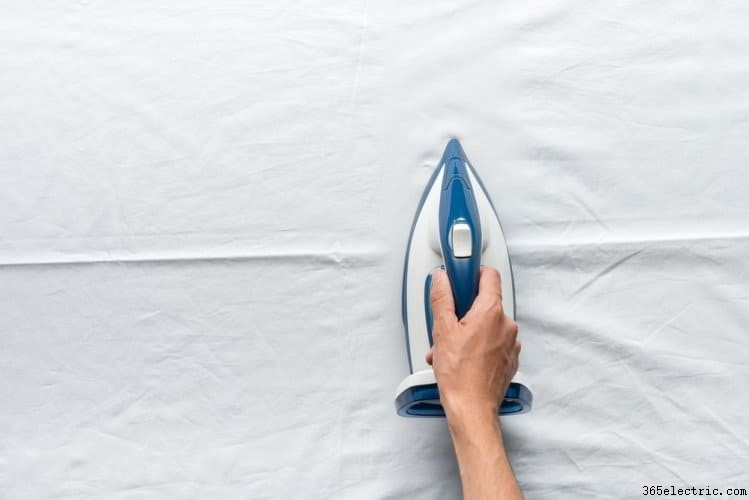
One way that you can get the wrinkles out of a projection screen is to iron it, although you must do this with extreme caution and as minimal heat as possible.
What you will need to do is place a towel down on a table or ironing board. Then, carefully place the projection screen over top of the towel lining up the wrinkle with the towel (as this is where you will iron). Be sure to avoid further creasing the screen as you place it down to rest.
After you have placed both the towel and the projection screen on your ironing surface, you can turn your iron to its lowest setting.
You might want to place another towel down between the screen and the iron to reduce and diffuse some of the heat that will come from the iron.
Then, slowly iron this portion and allow it to cool before moving it. The screen should not be hot to the touch, but it might be a bit warm.
Of course, with creases that are rather firm, you might have to repeat this step a few times. Still, it is best to avoid heat damage that could ruin the piece of equipment. Instead, take your time and use as little heat and as much patience as possible.
Blow Dry the Backside of the Projection Screen
Another option for getting the wrinkles out of your projection screen with heat is to blow dry the backside of the screen. You will follow a similar procedure as you would with ironing it, so be sure to avoid high heat and allow the projection screen to cool.
To blow dry the backside of a projection screen, you can either have the screen tightened on a tension mount, hanging up freely, or resting flat.
Either way, it is best to use the lowest setting possible on your blow dryer while still applying heat. Be sure to keep a bit of distance between the blow dryer and the projection screen so as to avoid heat damage when applying the heat too close to the screen.
If you decide to rest the projection screen on a surface while you blow dry the wrinkles out, it is best to use a towel underneath and on top of the projection screen (similar to the ironing recommendations) to help protect the projection screen vinyl or matte material.
You may touch the screen to monitor that it is not receiving too much heat, but that it is still receiving warmth that will help it to become wrinkle-free.
As the projection screen cools, you should see the result of the particles expanding from their change in temperature. This should result in decreased wrinkles, and you can repeat the procedure until you find that your projection screen is wrinkle-free.
Place the Projection Screen in Direct Sunlight
Another popular option for getting the wrinkles out of a projection screen is to place the projection screen in direct sunlight.
Now, this might be a bit difficult in a home theater where you have intentionally removed natural light, but if you have another option for hanging or resting your projection screen that is in direct light, this can be one of the less involved options.
Placing a projection screen in direct sunlight allows the warmth of the sunlight to enact the “straightening out” part of the project for you.
Much like the ironing and blow drying options listed above, direct sunlight adds heat to the surface of your projection screen. So, once your screen begins to cool off, the particles of the projection screen material expand and the wrinkles begin to flatten out.
Many people like this option because it is pretty simple once you have set it up. Instead of manually applying heat, you can allow the sun to do this for you- even on cold days as long as the sun is shining through your windows and hitting your screen.
Plus, you can leave your projection screen in the direct sunlight for a prolonged period and not have to worry about it getting overheated as you might in other methods.
Turn Up the Central Heat in Your Home Theater, and Apply Tension to the Projection Screen
Another option for using heat to help get the wrinkles out of your projection screen is to crank up the central heat in your home theater. You will have to turn it up pretty high- say 90 degrees Fahrenheit- to achieve any lasting effect.
But, if you apply tension to your screen by adding a weight at the bottom while it hangs or through mounting on a tension support, the wrinkles should begin to come out once you start to cool down the room.
2. Applying Tension to Get Wrinkles Out of a Projection Screen
Another option besides adding heat to your projection screen is to apply tension. This sort of acts as a way that will “stretch” out the wrinkles without risking damage from heat to the projection screen material. To apply tension, you must be careful not to damage the screen. But, you can do this in a few different ways.
Use a Tension Frame with your Projection Screen
Using a tension frame might be something that you are already planning to do as you hoist your projection screen onto the wall and mount it in a position that suits your home theater environment best.
But, if you have yet to begin this process, then you could be concerned about wasting your efforts when there is a big wrinkle down the middle of the screen.
Fortunately, using a tension frame acts to stretch the projection frame to the dimensions that it was designed to be. Without causing damage to the projection screen, the tension frame will hold each side of the screen in place and allow a taut pull to, slowly but surely, get the wrinkles out of your projection screen.
Apply Weight/Pressure to the Bottom of a Hanging Projector
If you have a hanging projector and do not intend on using a tension frame, then you can apply pressure to the bottom of the screen by hanging weights along the bottom of the screen or applying controlled pressure by setting up a device that will firmly pull the wrinkles out of the screen.
The amount of time that it would take for this option to get the wrinkles out might be more prolonged than a few of the other options, but it is relatively simple once you begin the process.
All you would need to do is find a few weights that can be attached to the bottom (without damaging the screen) and carefully attach them. Then, let gravity do the rest of the work.
3. Use Careful Storage to Prevent Wrinkles in Your Projection Screen
While it is not a reactive way to get the wrinkles out of your projection screen, it is still important to note how to prevent getting wrinkles in your projection screen in the first place.
Unfortunately, due to shipping mechanisms, many manufacturers cause creases in their projection screens because of having to (or choosing to) fold the screen in a way that causes a wrinkle.
But, once this part of the process is in your own hands, be sure to avoid creases when folding it. Additionally, you can try to wrap it around something that will prevent the edges from creasing while you are storing it.
Finally, do not place heavy objects or objects with strange or protruding shapes on top of the screen at any time. The more careful you are with your projection screen, the longer it is sure to last.
Grazie per aver letto! Also read:
- Best Projector Screens for Home Theater
- Can a Whiteboard Be Used as a Projector Screen?
- 7 Cheap Projector Screen Alternatives