Come overcloccare Android:una guida all'uso dei kernel
Non importa quanto siano veloci i nostri telefoni, c'è sempre spazio per renderli un po' più veloci. Fortunatamente, Android ti consente di fare proprio questo. Il processo si chiama overclocking e significa semplicemente forzare la CPU a funzionare un po' più velocemente del normale. Ecco come overcloccare il tuo telefono Android e potenziarlo.
- I nostri 10 migliori consigli per velocizzare il tuo telefono
- Come caricare la batteria del tuo telefono Android più velocemente
Gli utenti di PC hardcore potrebbero già avere familiarità con l'overclocking. I giocatori in particolare hanno overcloccato il loro hardware per anni, spingendo più prestazioni fuori dalle loro macchine. La stessa possibilità esiste per Android:puoi dire alla tua CPU di funzionare più velocemente delle impostazioni consigliate dal produttore. Il processo è sorprendentemente semplice e può darti fino al 30% di potenza in più. Ecco tutto quello che devi sapere:
- Cos'è un kernel?
- Cosa sapere prima di iniziare
- Ottieni il kernel giusto
- Utilizza il software di overclock
- Come overcloccare il tuo Android, passo dopo passo
- Cambiare la velocità di clock della CPU
Cos'è un kernel?
Il kernel è un programma per computer che è il cuore del sistema operativo di un computer. È spesso uno dei primi programmi caricati all'avvio di un dispositivo del computer, a volte indicato come bootloader. Il kernel esegue attività come l'esecuzione di processi, la gestione del disco rigido, la gestione degli interrupt e lo smistamento del resto del processo di avvio. Lo fa in una parte protetta della memoria, nota come spazio del kernel Android utilizza il kernel Linux, ma puoi cambiarlo se esegui il root del tuo dispositivo.
Prima di iniziare:leggi questo
Per prima cosa devo darti l'avvertimento standard. L'overclocking della CPU del telefono comporta alcuni rischi. Aumentare la velocità di clock della CPU genera più calore e consuma più energia. È improbabile che dia fuoco al telefono o interrompa la batteria, ma un'eccessiva produzione di calore può creare instabilità e influire sulla durata della batteria.
La chiave è prendersi il proprio tempo. Non cercare di saltare immediatamente a un aumento del 30 percento della velocità di clock. Prendilo lentamente e valuta quanto è stabile il sistema ad ogni aumento. Se Android funziona correttamente, il calore del telefono e la durata della batteria sono accettabili e non ci sono arresti anomali o comportamenti strani, puoi provare ad aumentare ulteriormente la velocità dell'orologio. Se le cose si fanno strane, torna all'ultima velocità di clock stabile.
Ottenere il kernel giusto per l'overclocking
Felice di questo? Procediamo. L'unica cosa di cui hai bisogno per modificare le impostazioni della CPU del tuo telefono Android è un kernel che supporti l'overclocking. L'overclocking è un punto fermo della comunità di modding, quindi non mancano i buoni kernel tra cui scegliere. Devi solo ottenere il kernel giusto per il tuo particolare modello di telefono.
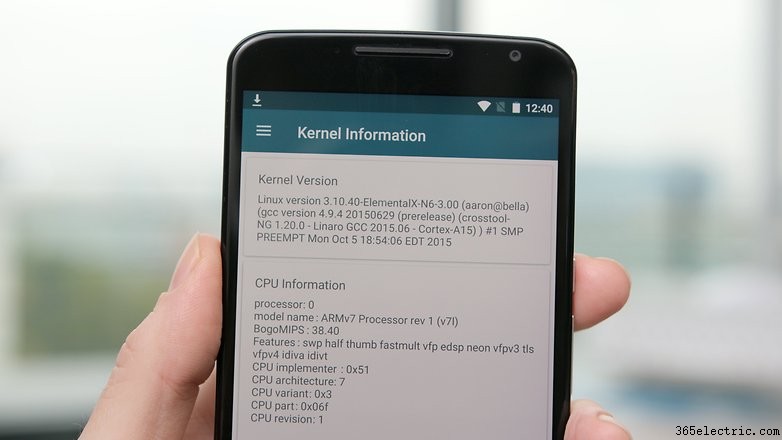
Innanzitutto, trova il numero di modello del tuo telefono. Vai a Impostazioni> Informazioni sul telefono e dai un'occhiata. Ti consigliamo anche di prendere nota della versione di Android che stai utilizzando. Il tuo telefono dovrà anche essere rootato per overcloccare la tua CPU. Per maggiori informazioni su cos'è il root su Android, consulta la nostra guida. Naturalmente, questo processo non è coperto da garanzia, quindi procedi a tuo rischio. Avrai anche bisogno di una recovery personalizzata installata. Maggiori informazioni di seguito.
La sostituzione del kernel e l'overclocking non richiedono tempo, ma vale la pena investire un po' di tempo per trovare il kernel giusto. Siti come XDA Developers sono un ottimo punto di partenza. Ci sono quattro cose che cerchi in un kernel:che supporti l'overclock, che sia compatibile con il tuo modello di telefono, che funzioni sulla tua attuale versione di Android e che abbia una buona reputazione.
Più un kernel è popolare, più facile sarà ottenere aiuto dalla comunità se ne hai bisogno o rintracciare alcune impostazioni suggerite (se preferisci imparare dagli sforzi degli altri piuttosto che capire da solo). Più feedback ci sono su un kernel, più informata puoi prendere una decisione.
Software di overclock per il tuo kernel
Alcuni kernel sono dotati di software dedicato che è su misura per aiutarti a ottenere il massimo dal kernel. Ciò può comportare un semplice dispositivo di scorrimento per l'overclock, le impostazioni del regolatore della CPU, le opzioni di undervolting e altro ancora. If the kernel you choose has a companion app, use it. If it doesn't, search around the Play Store for a generic overclocking or CPU manager app with a good rating and positive comments.
Once you've got the kernel for your particular model of phone, and have ensured it works with your version of Android and supports overclocking, you're good to go. For this tutorial we're overclocking a rooted Nexus 6 running stock Android 6.0 Marshmallow using the ElementalX kernel.
Many custom ROM kernels already support overclocking however, so if you are using a custom ROM, read up on it to see if you even need to change your kernel.
How to overclock your Android phone
Your phone needs to be rooted in order to flash a custom kernel. You'll also need a custom recovery installed (because you can't flash kernels using stock recovery). If you need help with this, follow our guide on how to install a custom recovery. The guide at the link is for a Nexus 5 but the same process applies.
1. Make sure you have a backup of your data. You can do this through your custom recovery or with any number of apps or PC-based solutions. If you need help with this, follow our guide on how to back up everything on Android.

2. Once you've chosen the kernel you want to use, download it (and any software it might have come with) onto your Android (you can leave it in the Downloads folder). You can also download the kernel to your computer and copy the zip file to the root directory of your phone if you prefer, but it's just as easy to just do it on your phone through recovery.
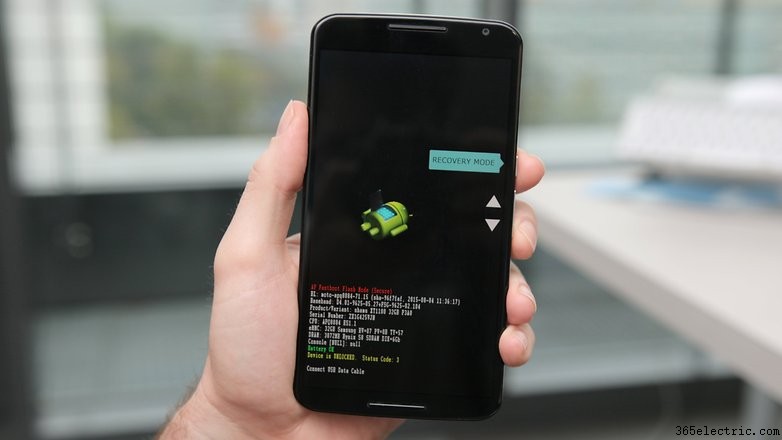
3. Turn off your phone and enter fastboot. This is usually achieved by pressing Power and Volume Down but some manufacturers have a different button combination.
4. On the fastboot screen, use the volume buttons to highlight Recovery mode and press the power button to select it.

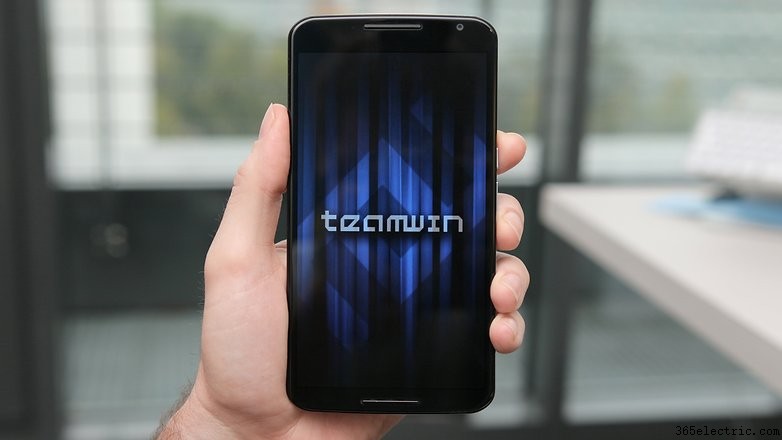
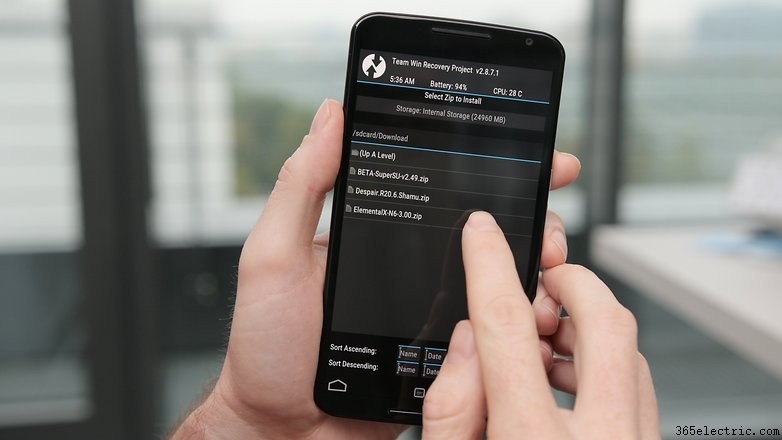
5. You will now enter your custom recovery. We're using TWRP.
6. Tap the Install button (or 'Install zip' in CWM recovery) and navigate to the location where you saved the kernel zip file.
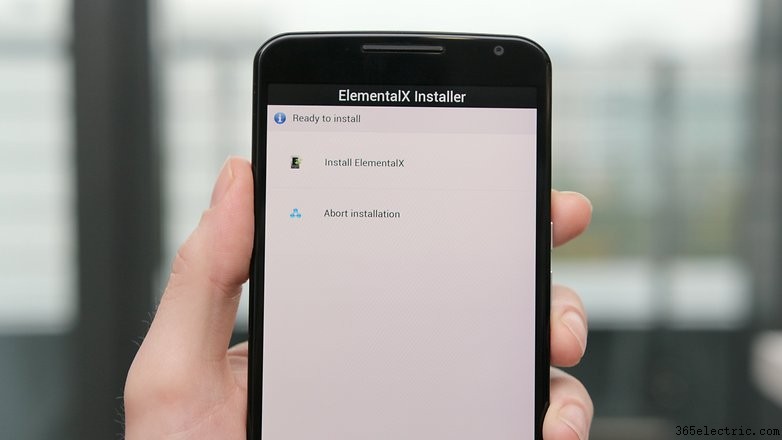
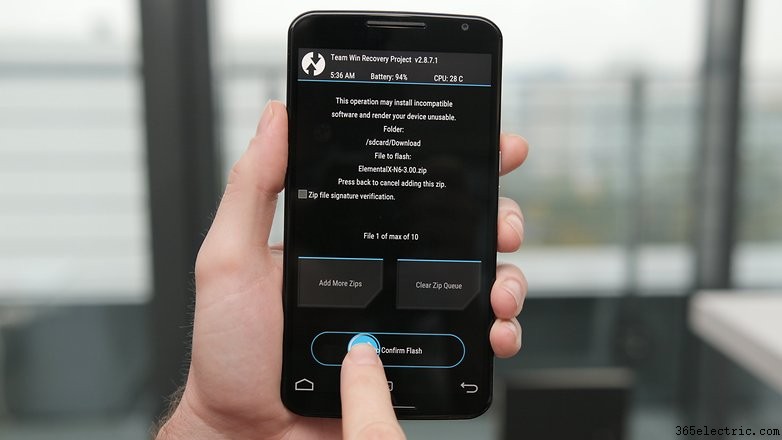
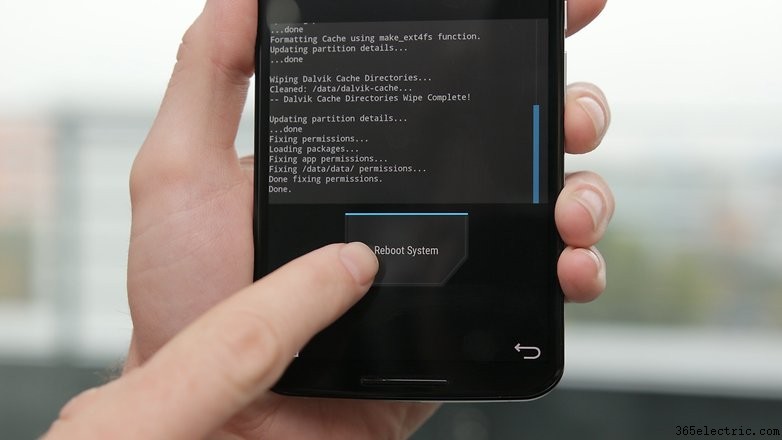
7. Flash the kernel zip file and wait for a success message. Some kernels (like Elemental X in our example) will run you through a series of screens like the Install Wizard on your computer.
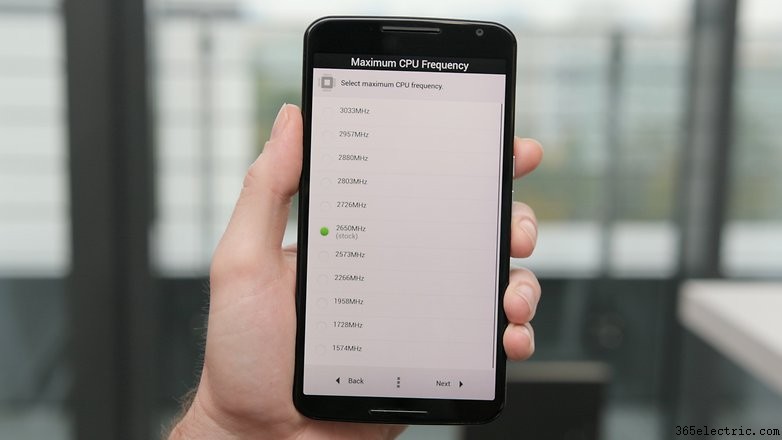
Some kernels will allow you to set the CPU clock speed during installation. You can make changes then and there or later through the CPU manager app you installed. See below for instructions on the latter.
8. Wipe the cache once the kernel has been flashed successfully.
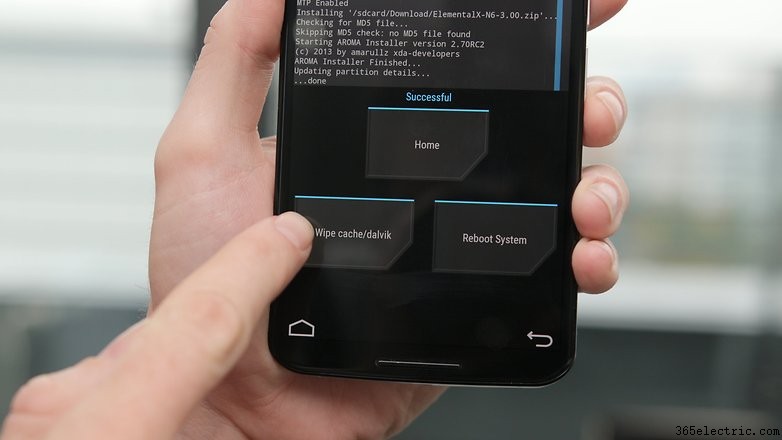
9. Go to the Advanced settings in recovery and tap 'Fix Permissions'.

10. Reboot your system.
Changing your CPU clock speed
If you didn't change the CPU settings during installation of your custom kernel you can now launch your CPU manager or kernel app. If you haven't already installed compatible software for your kernel you'll need to find an app in the Play Store.
There are plenty that work well, but I'm using a free app called Kernel Adiutor. You'll need to grant your kernel app root permission and you might be required to install BusyBox as well (which will also require root privileges).
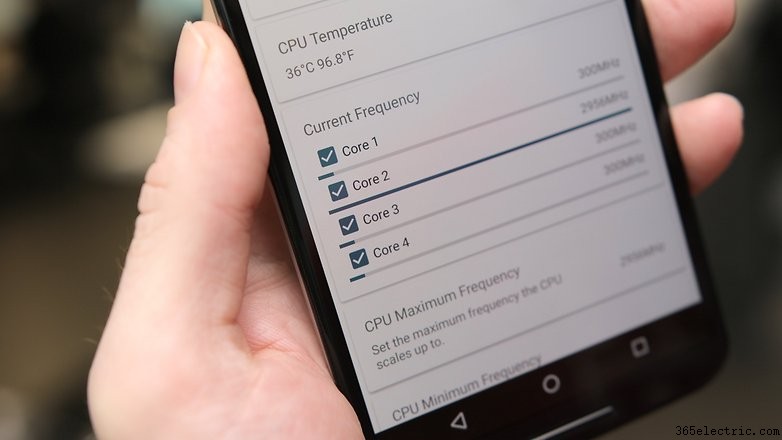
Look for the settings that control CPU clock speed. Depending on the app you're using, you can choose a max CPU speed from a drop down menu or use a slider. Remember, take it slowly and try each clock speed out for a while to see how it affects stability, battery life and heat. Start at around 10 percent more than your current clock speed and work your way upwards.
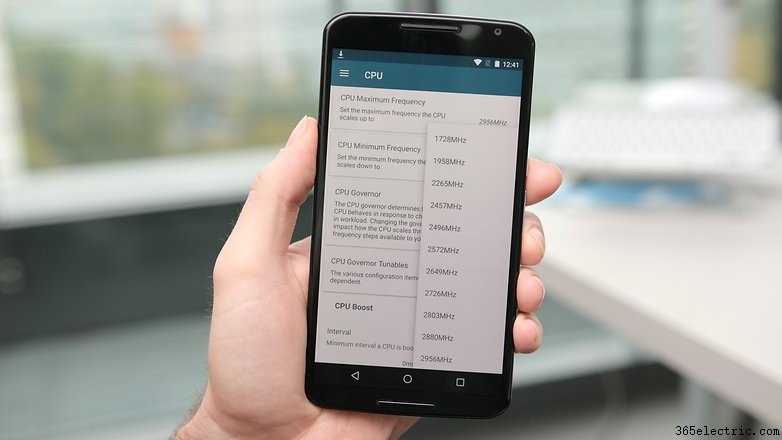
Don't be surprised if your CPU speed doesn't instantly jump up to that new setting. What you're doing when you overclock is changing the CPU's maximum speed, so it will be able to deliver higher performance when necessary.
While you can also change the minimum clock speed, that just puts unnecessary strain on your processor and battery. After all, there's no need to be maxing out your CPU just to read emails.
If you encounter any instability with your new settings just go back and drop your max clock speed a little and see how you go.
If you encounter any problems that seem out of the ordinary, hit the forums or the place you grabbed your kernel from and read through the entries to see if anyone else has already solved your problem. If not, ask for help from the community. If all else fails you can simply re-flash the original kernel your device came with.
Let us know how you got on, and how much better your overclocked Android is now.