Revisione e installazione di Lumitec SeaBlazeX2
Il Lumitec SeaBlazeX2 è entrato nella nostra lista delle migliori luci a LED subacquee! Dai un'occhiata.
Negli ultimi 5-7 anni, il wake surf dietro le barche da wakeboard è esploso. I produttori stanno completamente riprogettando e costruendo barche attorno al nuovo sport. Tra sistemi di surf integrati come NSS (Nautique Surf System) o Malibu's Surf Gate, enormi sistemi di zavorra come Fly High, stereo migliorati come gli altoparlanti a torre Wetsounds e accessori come corde da surf o wake shaper:lo sport è chiaramente in piena espansione e sta diventando un convenzionale sport acquatici come tubing e wakeboard. Ma a differenza di altri sport acquatici, il wakesurfing richiede di navigare tra 10-20 piedi dalla poppa della barca, nella parte superiore della scia mentre si viaggia a basse velocità tra 10-13 (circa) mph. Questo è unico e lo rende un ottimo candidato per il divertimento sull'acqua dopo il tramonto!
*Prendo nota che potresti voler controllare le leggi del tuo stato per sapere se puoi usare questi tipi di luci colorate dopo il tramonto mentre sei in movimento sull'acqua. Alcuni stati consentono questi tipi di luci solo quando si parcheggia su laghi e fiumi.
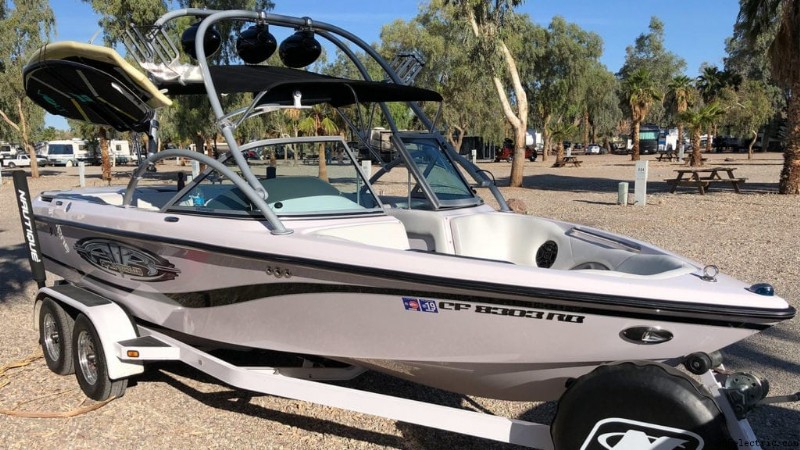
Sulle barche più recenti, i produttori hanno raccolto questa idea e hanno iniziato a installare luci subacquee sulle loro barche per illuminare la scia. Non solo, è anche una barca dall'aspetto ingannevole che gira sull'acqua. Ho deciso di lanciare un paio di luci a LED subacquee sul nostro Super Air Nautique 210 del 2004 per dargli vita di notte e per illuminare la scia mentre navighi dietro di esso. Ho già luci blu a LED personalizzate all'interno con indicatori corrispondenti, quindi ho pensato che sarebbe stata un'ottima aggiunta! Ho fatto una gita di 8 giorni al lago Powell e sapevo che avremmo voluto essere in acqua dopo ore, quindi ho iniziato la nostra ricerca di alcune delle migliori luci per barche subacquee a LED sul mercato. Alcune delle opzioni che ho esaminato includevano:
- Lumitec
- OceanLED
- Ombra-Incantatore
- LED LifeForm
- Lumishore
Alcune delle cose che ho preso in considerazione quando ho deciso quale marca e prodotto avrei scelto erano:reputazione del marchio (premier, marchio affermato), caratteristiche della luce (quante modalità di illuminazione ha), luminosità (lumen per luce) , materials (stainless, bronze, plastic, etc), and installation &configuration (does it have a switch wire or do you need to pull 12+ AMPs through a switch?). After reading through reviews and researching their products on some of the forums and the manufacturer's websites, I decided to go with Lumitec and get a pair of the SeaBlazeX2s. In this article we'll document our installation process and include in our opinion and review throughout!
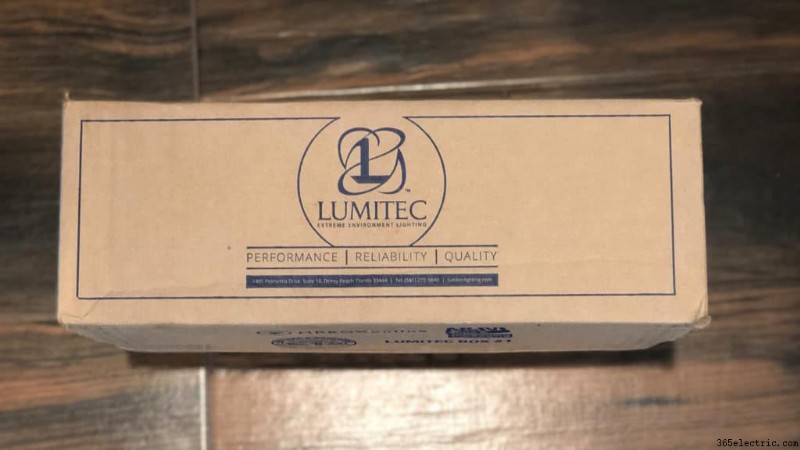
Opening the Box
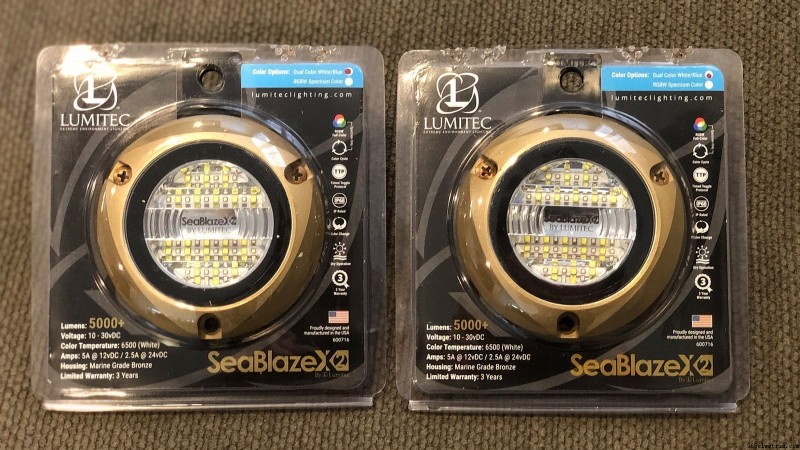
I received both SeaBlazeX2s in a neatly packaged and custom labeled box. It looked high quality with Lumitec's logo and slogan on the sides.
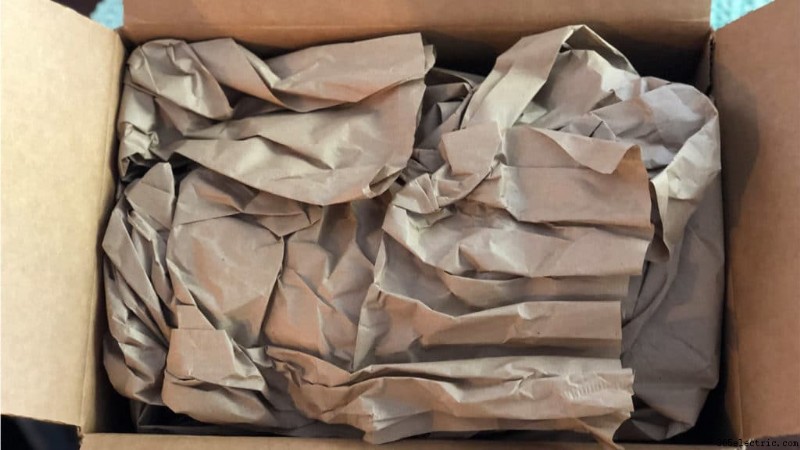
When I opened it up I found two very neatly packaged, carefully placed lights:
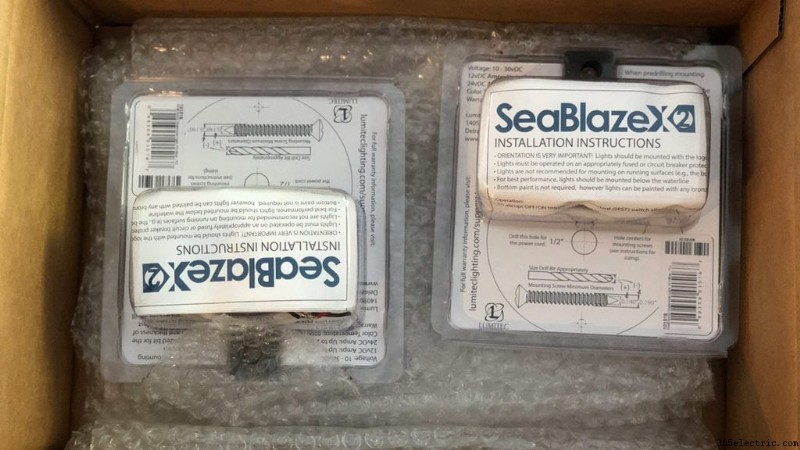
Once out of the box I took a look through the product, opened them up and inspected!
First Impressions
There wasn't anything special about the packaging. I opened one up and began to inspect. Once I had the light in my hand I did the ‘feel' test. The first thing I noticed was the weight of the bronze casing. It felt solid and heavy which I liked. The glass covering the LEDs felt thick and sturdy as well. All in all looked like it was made with quality materials and did not feel cheap.
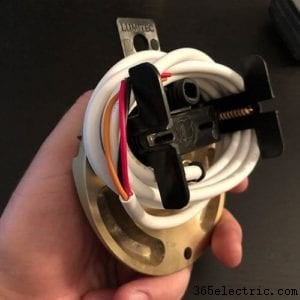
On the back side of the light there was a custom plastic mount (in the above pictures you'll notice two screws in the housing) that was mounted to the light that acted like a coil for the wire to wrap around. Made for a nice, clean looking product when you pull it out without a tangle of wire.
When you unwind the wire and unscrew the coil from the rear, there were two additional screws (one for the third spot in the housing and another extra just in case).
What's in the Box?
I opened up the packaging and found:
- 1 SeaBlazeX2 (obviously)
- 4 coated screws (1 extra)
- 62″ of 18/3 AWG wire (attached):I measured this from the flat part of the rear side of the housing to the tip of the exposed wires
- 1 Instructions Manual
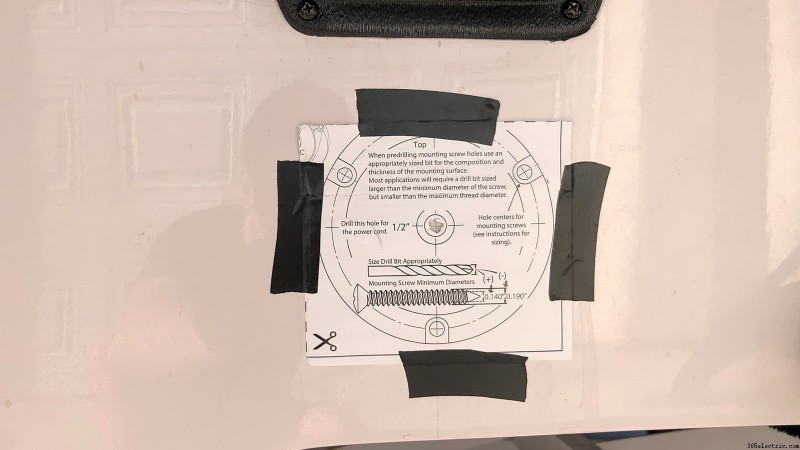
- Inside the instructions manual it comes with a cut-out mounting template to simplify the installation a bit
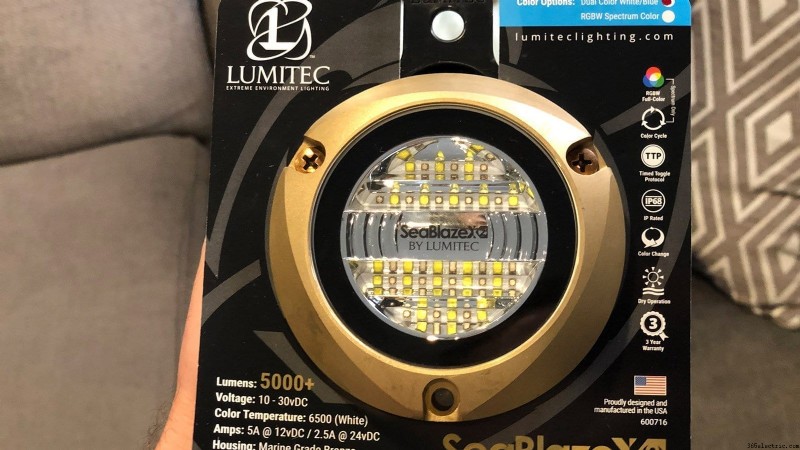
The Lumitec SeaBlazeX2
The SeaBlazeX2 is constructed with a marine-grade bronze housing. It's a heavy unit and appears to be made with quality materials. Lumitec claims that their underwater products are designed and tested with over 2000 continuous hours of rigorous salt spray testing in their Salt Spray Chamber. The SeaBlazeX2 comes in two options – Dual-Color White/Blue and Spectrum Full-Color RGBW. For our purposes, and since our boat already had a blue color theme, I chose the blue/white dual color version. It puts out a total of 6,000 lumens per unit (the packaging says 5,000 but I confirmed with one of the members at Lumitec that it is indeed 6,000) and operates with 10-30vDC at 5A (on a 12VDC system).
It has a total of 32 LED emitters, split between white and blue. 16 white and 16 blue. A feature called Timed Toggle Protocol (TTP) enables you to change between three modes with a simple toggle of an on/off power switch (no external controllers required).
The light has three modes via TTP:
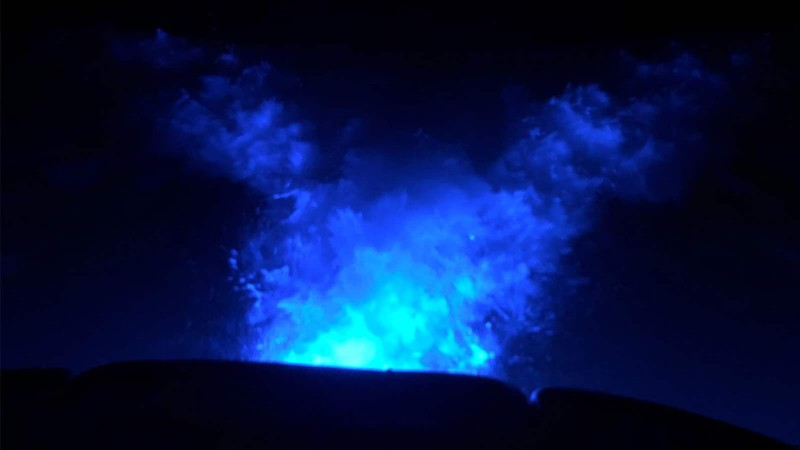
- Full blue mode:16 LED blue
- Full white mode:16 LED white
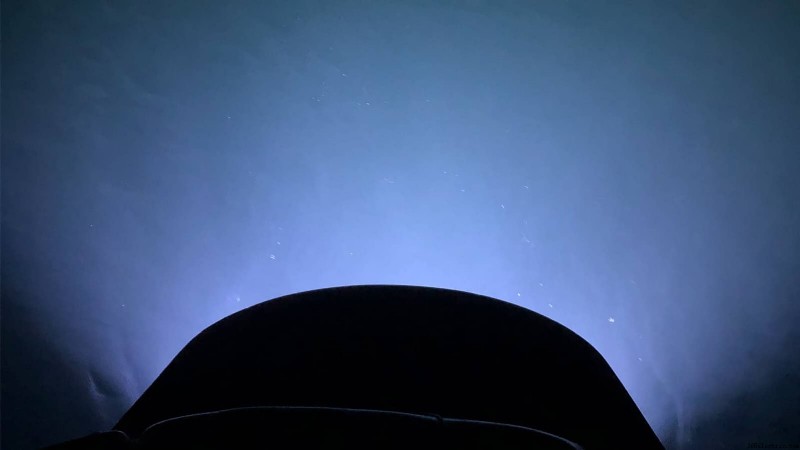
- Cross-color fade mode:Slowly transitioning between blue and white modes
It defaults to the full white mode, but simply flip the power on and off, or trigger a relay/switch in the 3-wire connection (we'll get to this in the installation portion) and it'll switch between the three. Turn it off for 3 seconds and it'll default back to white when you turn it back on.
On the back side of the unit, it has 62″ of 18/3 AWG Triplex Round wire that's securely attached. A rubber grommet seals out water between the bronze housing and the wire. It looks like there's additional sealant between the rubber grommet and the housing as well to make the seal even stronger.
Light Specs:
- Lumens (White):6000
- Voltage:10-30vDC
- 12v DC Amps:5A
- 24v DC Amps:2.5A
- Rated Watts:6 0
- CCT:6500
- CRI:70+
- Op. Temp F/C:-31/35 to + 131/55
- Timed Toggled Protocol (TTP):Yes
- Third Party Dimmer Compatibility (3PD) :No
- Color Match Commitment (CM):No
- Mounting Hole Diameter:1/2″
- Depth:0.85 in (2.15 cm)
- Diameter:3.94 in (8.86 cm)
About Lumitec
Lumitec was founded in 2007 by John Kujawa. They're solely focused on the manufacturing and development of high quality LED lighting for extreme environments. Most of their products are designed for use on fine boats and yachts but also on commercial equipment and vehicles like fire engines, police cars and etc. They manufacture their products in the U.S.A with their research and development facility in Delray Beach, FL. According to their Company Page, in 2018 they were named in INC. MAGAZINE's 500 Fastest Growing Companies and were recognized as the sixth fastest growing manufacturing company in the US.
Installing the Lumitec SeaBlazeX2
Now that you know what the SeaBlazeX2 is, what it comes with and have had a first-hand look of the product out of the packaging, let's get to the fun part:installation. This installation was done on a wakeboard boat with a dedicated accessory switch at the helm, but these instructions can be utilized for any boat really as long as you have a switch or a relay. Details of the boat that we're installing it on:
- Year:2004
- Make:Correct Craft
- Model:Super Air Nautique 210 Team Edition
Additional Parts I Bought (with links to the stuff I used):
- Wire – I bought 14/3 AWG flat marine grade wire
- Shrink wrap – Any shrink wrap that will fit the 18 AWG and 14 AWG wire that you'll be soldering or connecting.
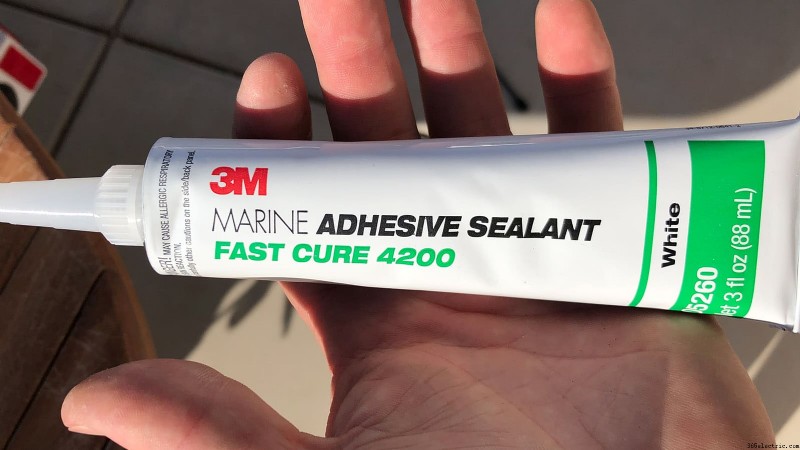
- 3M 4200 Adhesive/Sealant (recommended in the manual)
- Battery terminal connectors
- Inline Fuses for each light (recommended in the manual)
- Zip Ties
Tools Needed:
- Drill
- 11/64″ and 1/2″ drillbit
- Screwdriver (philips)
- Solder Iron
- Solder
- Electrical tape
Prep Work
The first thing that I did once I pulled the lights out of the box is inspected the lights for cracks, damages or any physical issue that may cause the lights to leak. Lucky for us (and with the help of the excellent packaging) there were no dings, scratches, cracks or anything of that sort. The wires looked perfect with nothing that would cause them too short out in the water or during installation.
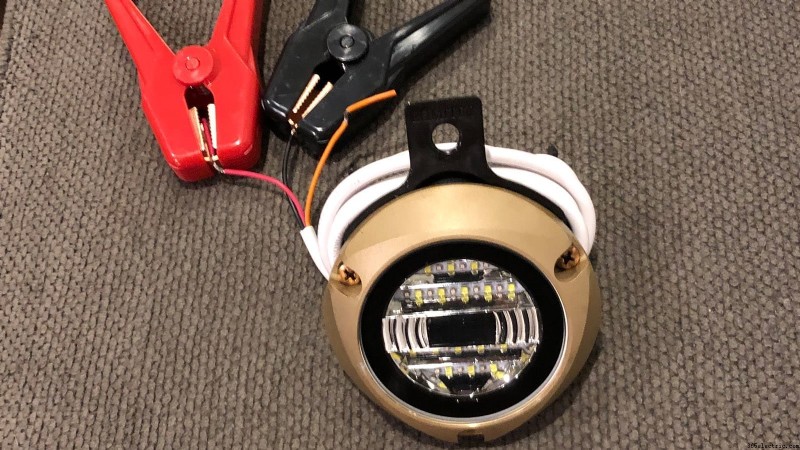
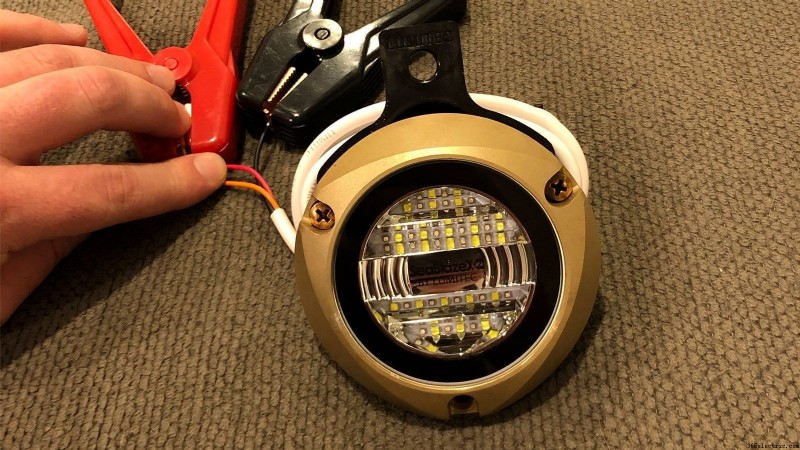
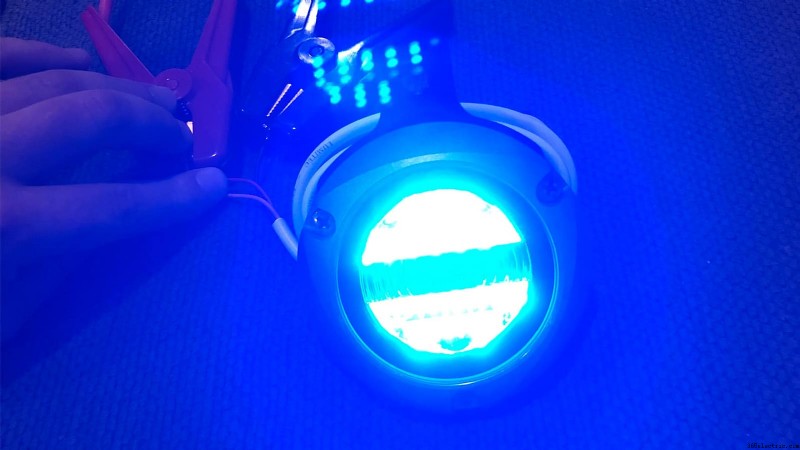
The next thing I did before I installed is checked them to ensure that they operated properly. To do this, I used a a 12V power source that will handle 6A with ease. You can use any 12v source for this but the easiest way is to probably utilize your battery, just can hook up the positives and negatives (red and black). Then, with the orange wire (switch line), connect the wire to the positive source. I tested both lights to ensure all three modes worked. Note these lights were VERY bright with full power and I DON'T recommend looking directly into them!!
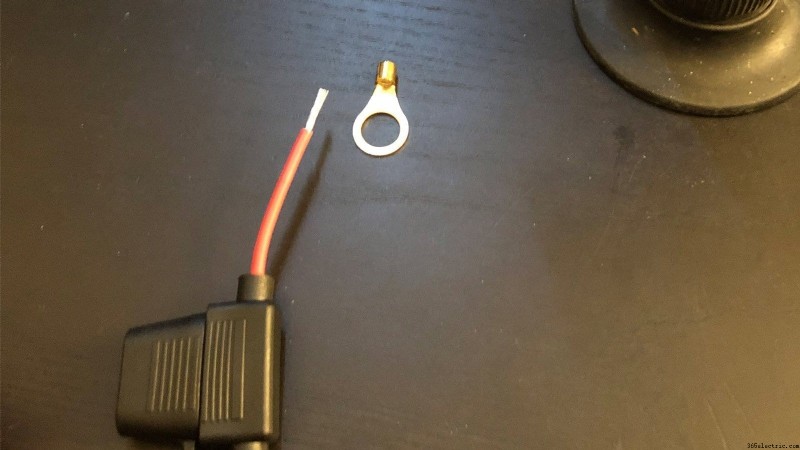
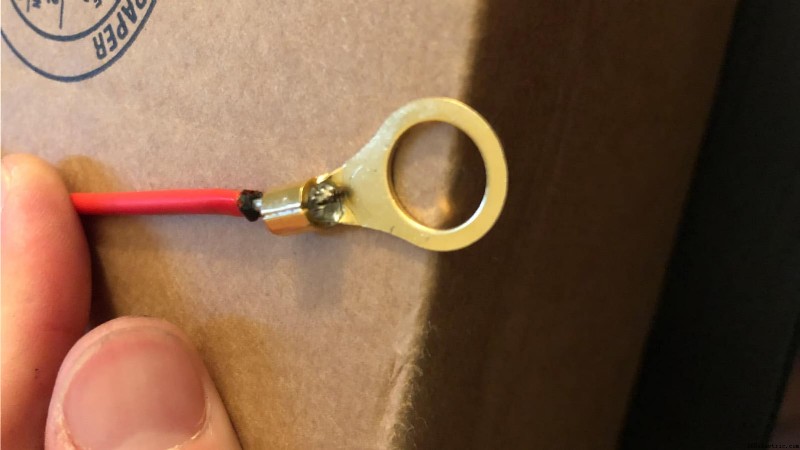
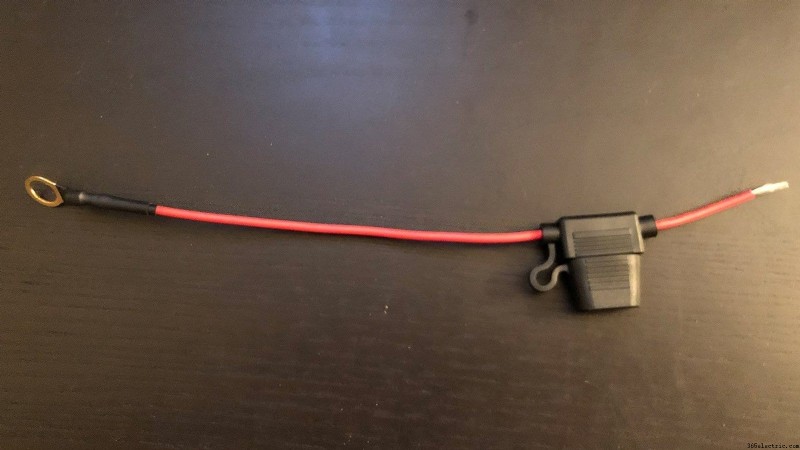
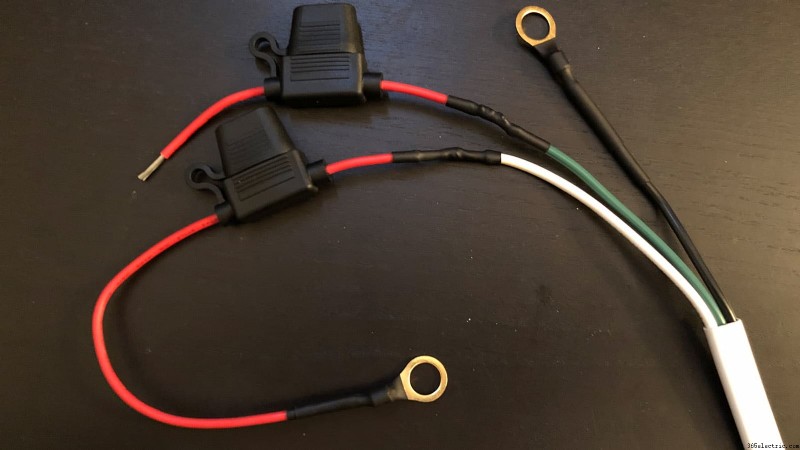
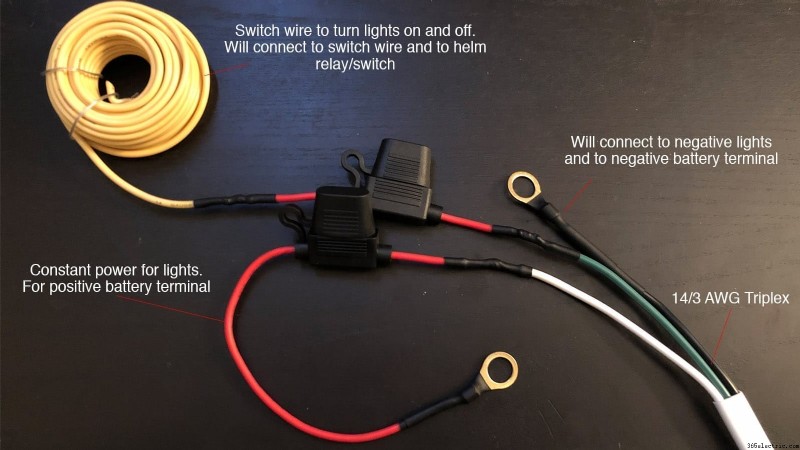
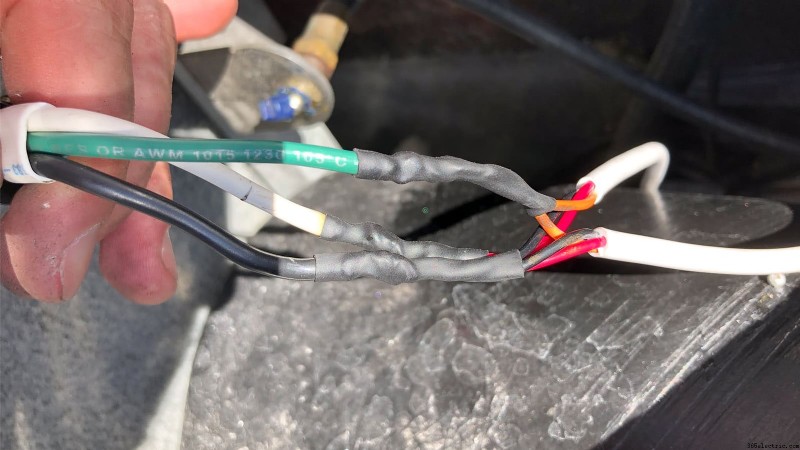
The next thing I did before installing on the boat was prepared the connectors and fuse lines so that I would reduce the amount of soldering while on the boat. Here's a few steps I took to build out a ‘harness' that would connect to the battery terminal on one end (as seen in pictures). On the other end of this harness, I will attach both LED light wires to combine into one (see further in the post).

Now that I have the lights and the wire harness completed, we're ready to get started on installing the lights on the boat.
Installing the SeaBlazeX2
Step 1:Measuring and Marking
The first thing I did was started placing the two templates in different locations on the transom. Once I found the location that I liked, I temporarily taped them to the relative position I was going to mount them. Note that the manufacturer recommends between 6″ and 16″ below the water line. After measuring, ours landed around 10″ (obviously this will vary depending on how much ballast is in the boat).
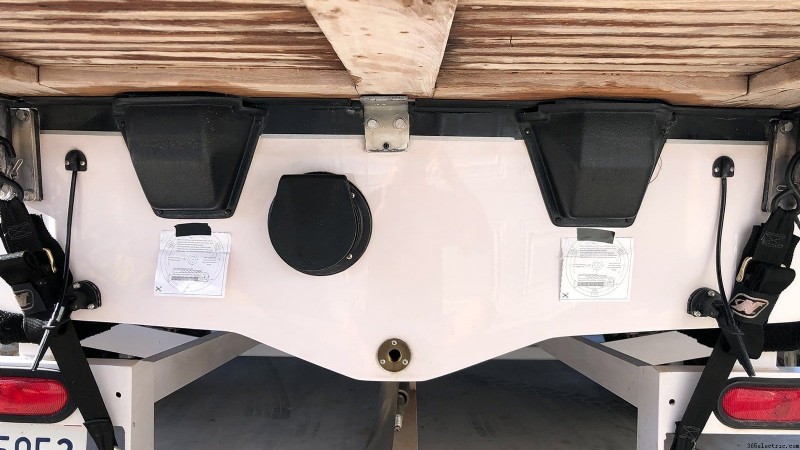
Once I had the general location I liked, I started to refine the exact location. This was a little tricky because there was no consistent square edge to measure from. So I used both a level and measure tape to ensure that I was measuring from the same reference point (make sure the boat is level first!). Finally, I aligned the two lights in the exact position and made sure that they were both level. I used black electrical tape to secure the two templates for drilling.
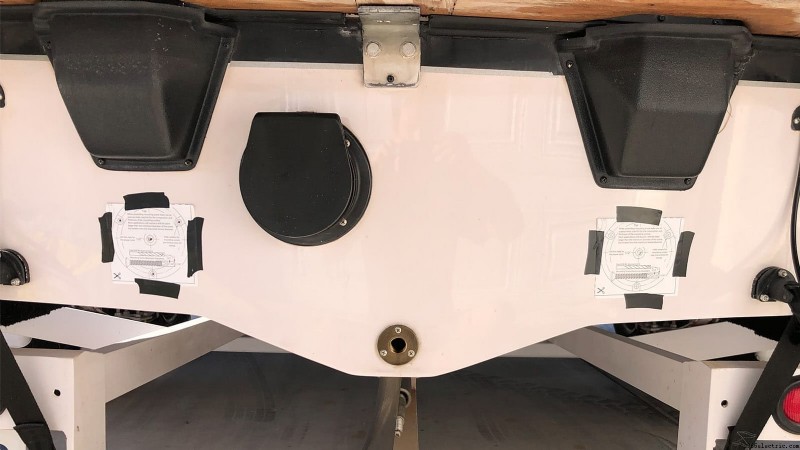
After I secured the two templates with tape, I double checked that they were both in the exact same location. I also used the lines on the template to ensure they were true again with a level.
Step 2:Drilling!
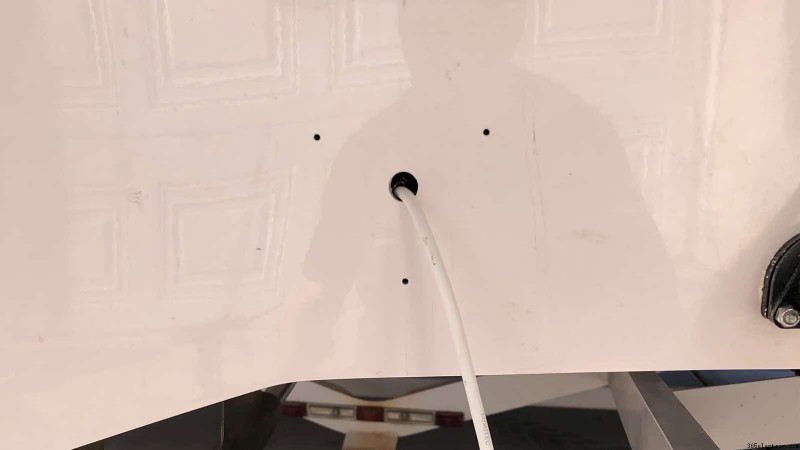
Once the templates were secure and I knew they were exactly where I wanted them to be, I began drilling. Using an 11/64″ drillbit, I started to drill the three mounting screw holes and the center hole for the wiring.

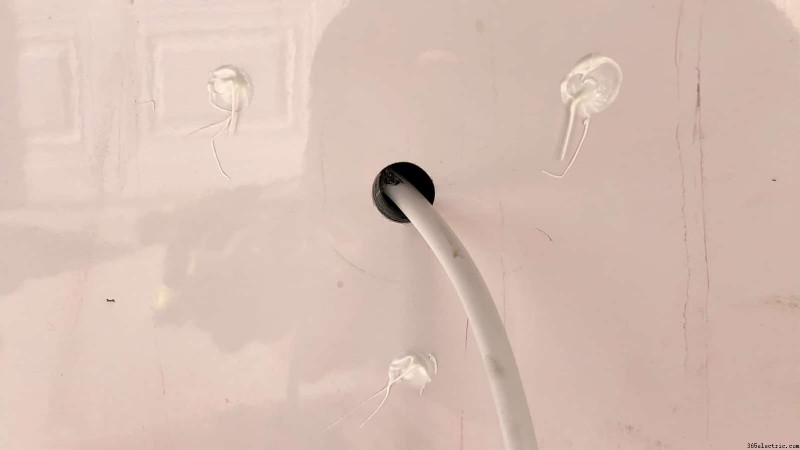
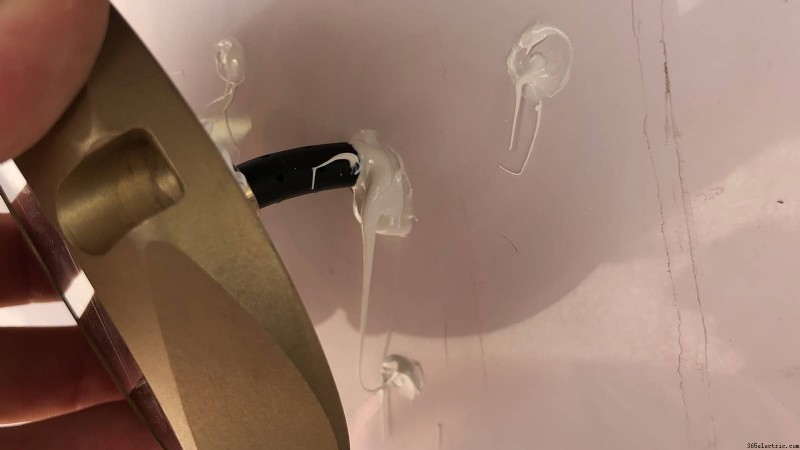
Step 3:Mounting
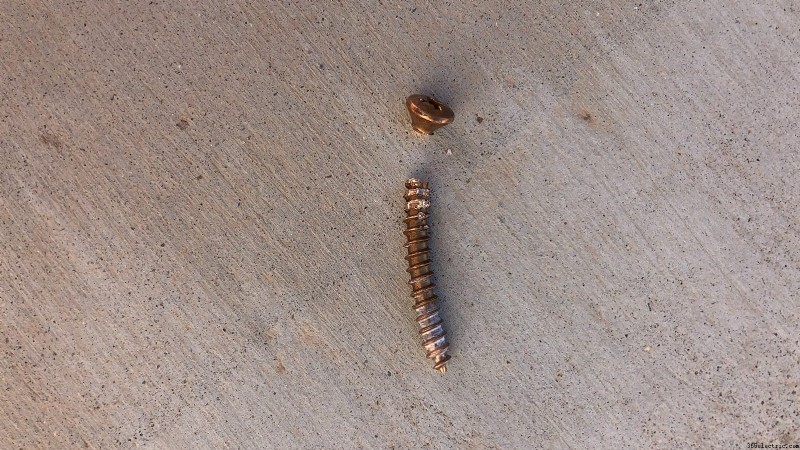
After drilling out the center hole using a 1/2″ drillbit, I started the process of feeding the wires through the hull, sealing and mounting the two lights. NOTE:CAREFUL USING A DRILLBIT SMALLER THAN 11/64″ FOR THE MOUNTING SCREWS OR THE SCREWS MAY BREAK (see photos). I'd also recommend you don't use an impact drill for the mounting screws. Do the final tightening by hand if possible.

Step 4:Wiring
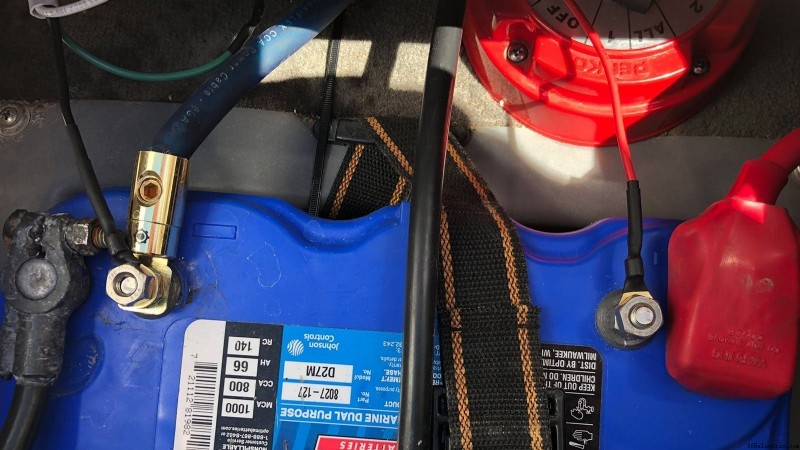
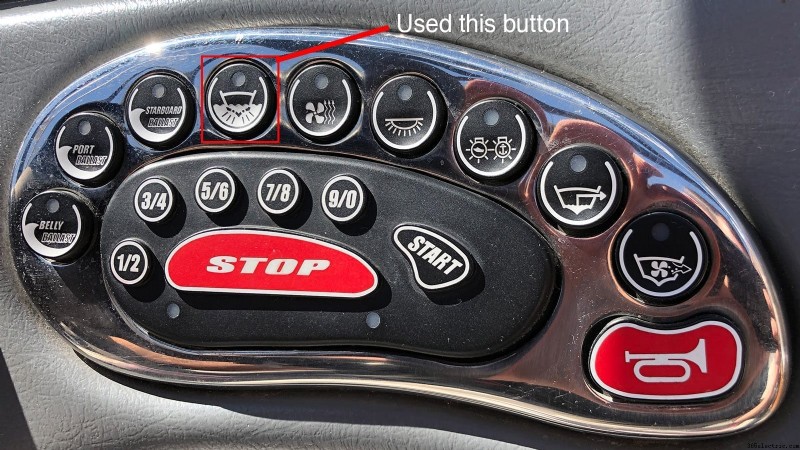
Now that the lights are mounted, I began to wire the lights up using the harness that I built prior to the installation. In my case, the wiring was relatively simple. The 2004 Super Air 210 had an accessory wire (Pin 11 on the 40 pin connector) with an accessory button on the keypad that was for underwater lights (or at least the icon looked like it!). So all I did was found a wiring diagram on www.planetnautique.com and used my volt meter to verify that the wire was indeed an accessory for the corresponding button on the keypad. I combined the two lights to my 14AWG triplex wire in the engine bay then ran them to the battery. I then ran the orange switch wire to the helm where the keypad accessory wire was.
There are a couple options for wiring the lights, the setup that I did was the 3-Wire Connection since I had a relay switch at the helm and couldn't run power directly from the keypad. I also ran the power directly to my accessory battery (I have a main/accessory battery setup) instead of the Perko switch. Since I ran the 3-Wire Connection I wasn't too concerned about a draw but if I notice my battery dying between trips I'll probably run the positive to the Perko instead.
Step 5:Testing &Results!
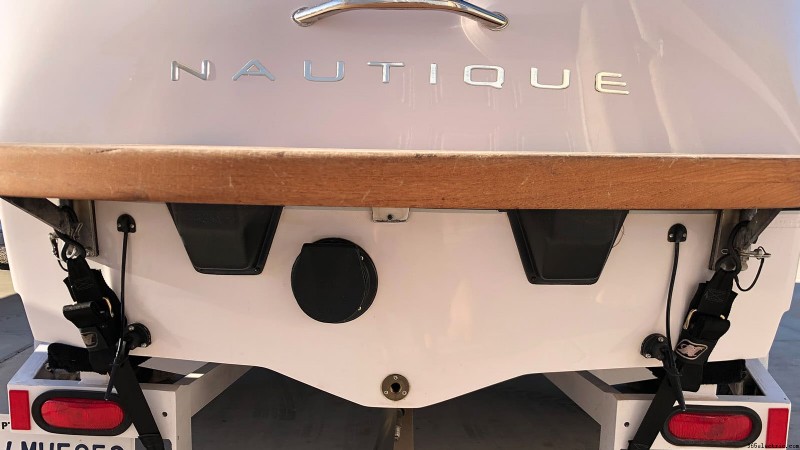
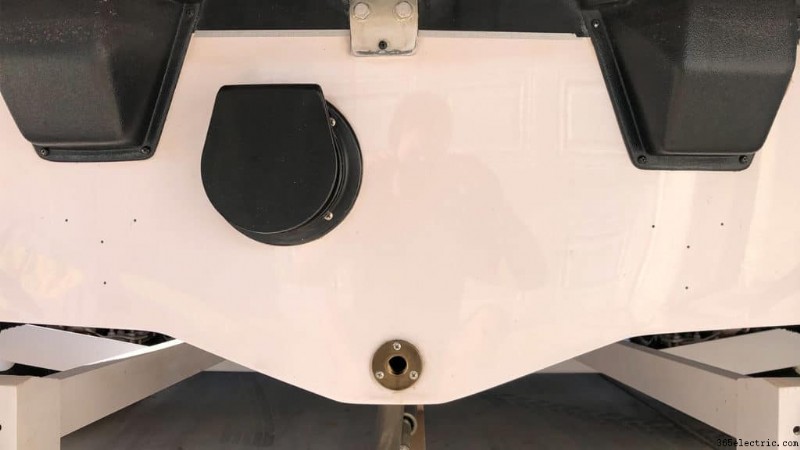
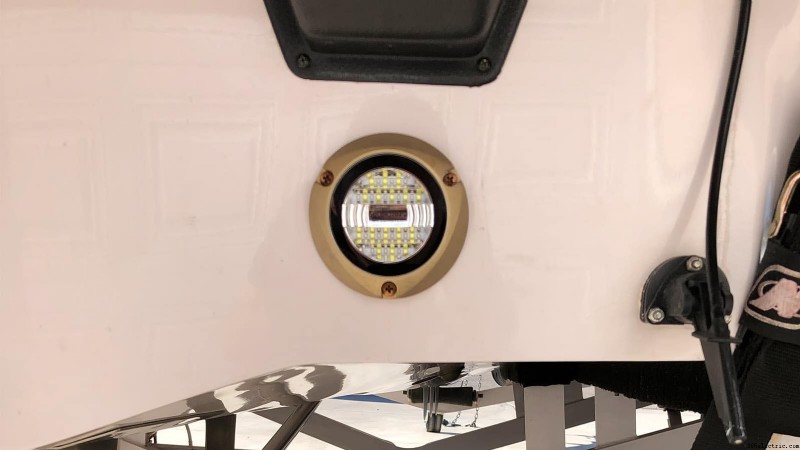
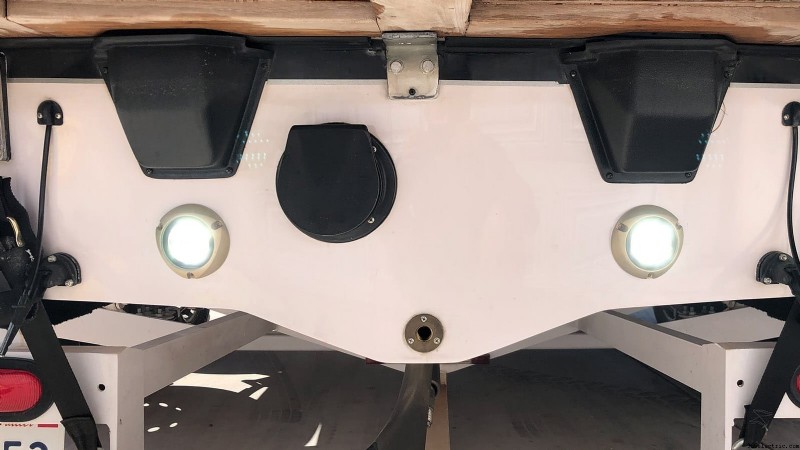
So here's the end results with tons of pictures! I'll walk through each of them with explainers. Starting with pictures immediately after the installation during the daytime:
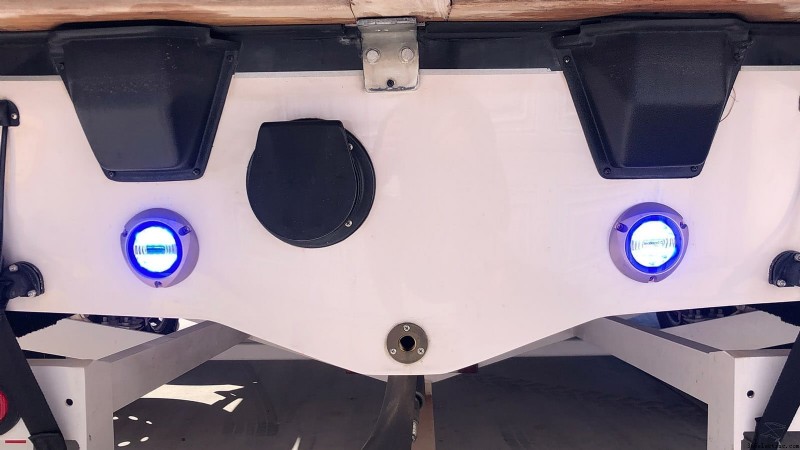
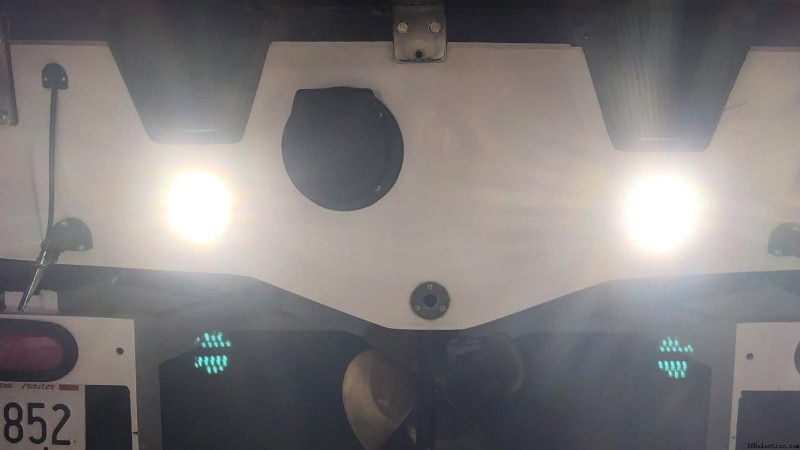
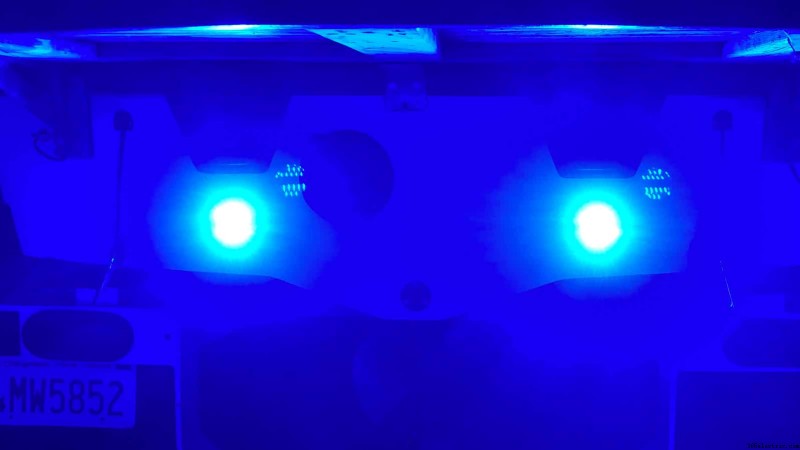
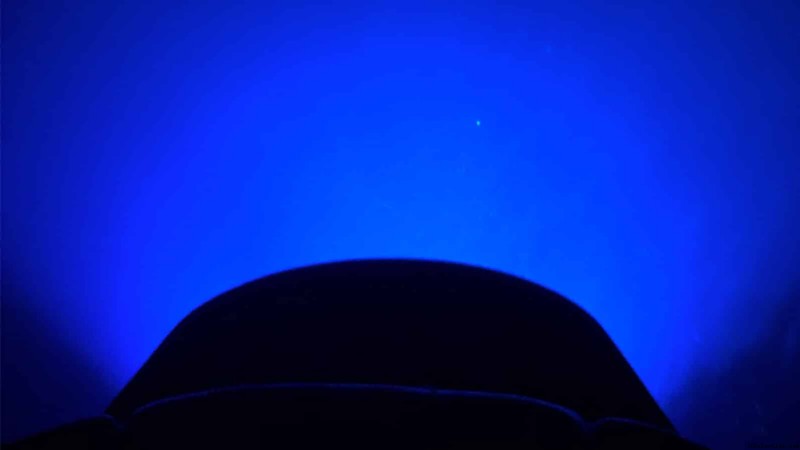
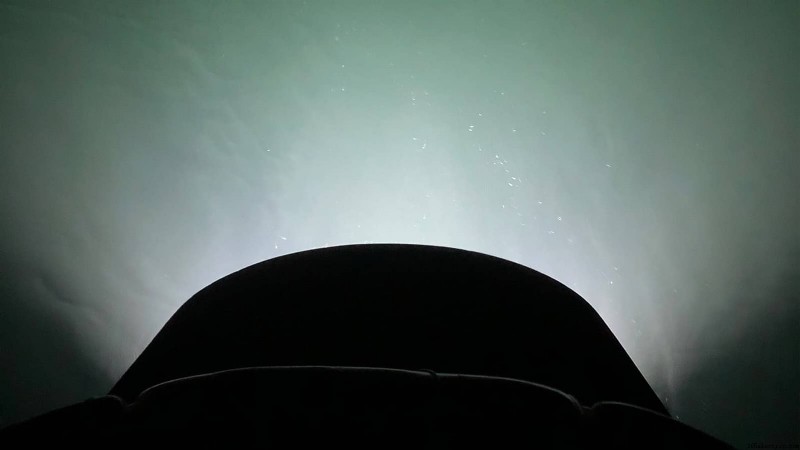
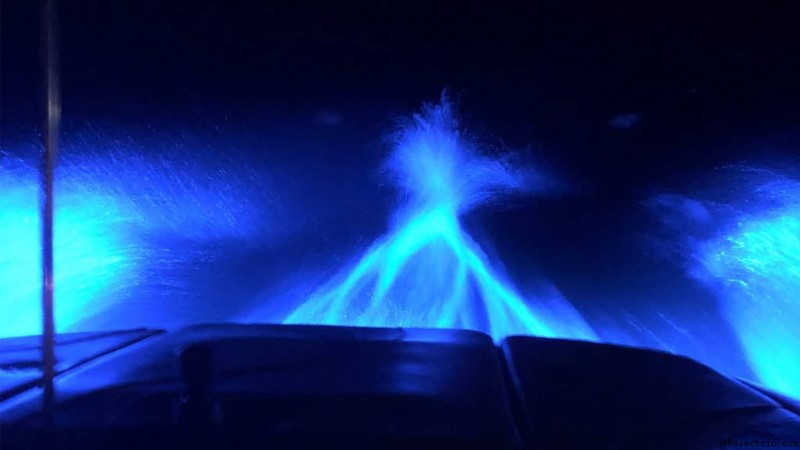
I then launched the boat and took it out for a spin to see how the lights looked on the water. Here's a few pictures of the three modes. None of these photos have filters.
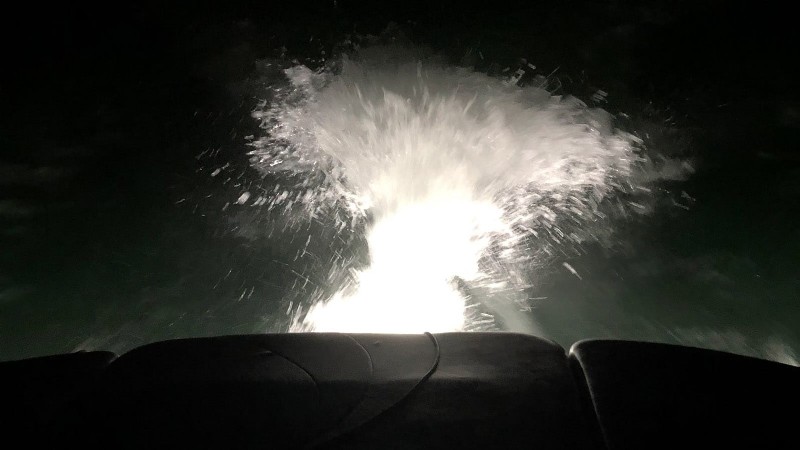
Lumitec SeaBlazeX2 – The Verdict
Overall, I felt that Lumitec's SeaBlazeX2 is a high quality, high performance underwater LED light. I was stunned at the brightness and was thrilled with the look in the water. It really ads a new level of style to your boat after the sun goes down. It's made with quality materials – the triplex wire, the heavy duty bronze casing, etc. Even though you can request replacement Bronze screws through their tech support on their website, I'd recommend buying some stainless steel mounting screws with plastic isolating washers just in case you run into issues breakage like I saw when mounting the lights. This'll allow you to install the lights at least while you wait for the replacements. Don't use stainless without a plastic washer as a permanent solution though because it can cause corrosion between the two materials over extended periods of time.
I loved the three modes, and the ability to wire it to a switch or a relay but I felt like the crossfade mode was a little pointless. I would have rather seen a half blue, half white option that would blend the two colors at once. It'll work perfect for those who have an extra accessory on their keypad in the helm of your wakeboard boat.
But I installed these lights not just to look at them, I wanted to light up the wake at night to wakesurf and from that perspective I thought they could have performed a little better. When I weighted the boat down and set it up for surfing, it just didn't give the light I thought it would. Although to be fair it could very well be an angle issue since the boat doesn't exactly plane when you're trying to surf behind it. For better surfing results you may want to consider mounting them at a more shallow depth below the waterline – between 6″ and 8″. That said, it is still incredibly bright and I'll definitely be surfing at night behind it but I might just throw in an additional light on the tower.
All-in-all these are some stout underwater LED lights that will hold up to the elements. The price-point is decent – they're not exactly the cheapest option for getting underwater LED lights on your boat. But if you're looking for a way to enhance your boat's look at night, and maybe even make them functional while wakesurfing I do recommend!
Looking to buy? Check out the SeaBlazeX2 from one of these vendors: