Come:sostituire gli altoparlanti della porta su 09-18 Ram 1500
Tempo necessario:3 ore e 30 minuti
Difficoltà:Facile
Lo stereo 4a generazione 1500 di Ram era decente all'epoca. Laddove la 3a generazione aveva una coppia di 6x9 nella parte anteriore e 6,5″ coassiali nella parte posteriore, la 4a generazione era dotata di un sistema di 6 altoparlanti. Questo sistema a 6 altoparlanti è composto da due coppie di altoparlanti da 6×9 pollici nelle portiere anteriori e posteriori insieme a una coppia di altoparlanti da 3 1/2 pollici nel cruscotto.
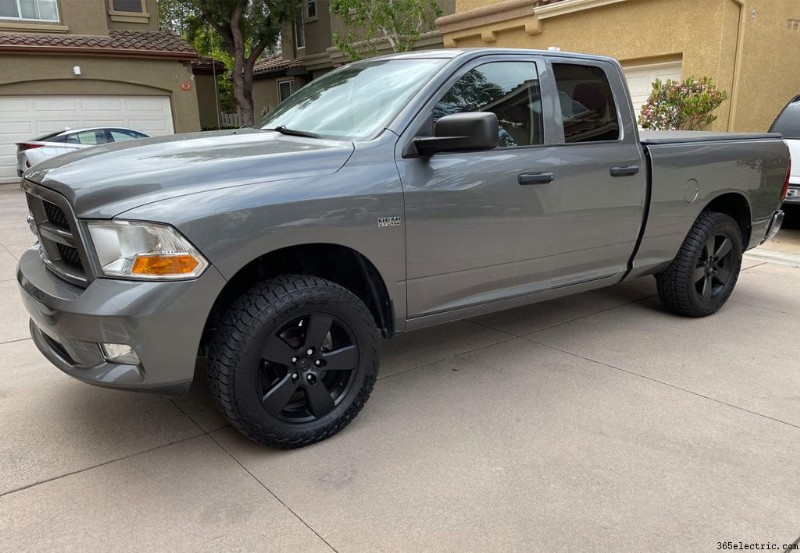
Nell'articolo di oggi, aggiornerò gli altoparlanti delle portiere anteriori e posteriori in una Ram 1500 Express Quad Cab di quarta generazione del 2012. Ho già aggiornato lo stereo e ho installato un subwoofer amplificato sotto il sedile, il che lo ha reso un ottimo candidato per una buona coppia di altoparlanti. Userò la nuova gamma di altoparlanti Mobile ES di Sony per l'aggiornamento. Ecco uno sguardo al camion.
Indipendentemente dal fatto che il tuo altoparlante sia bruciato o desideri semplicemente un solido aggiornamento per più volume e chiarezza, il processo di installazione è lo stesso. Entro la fine dell'articolo dovresti avere tutto ciò di cui hai bisogno per sapere come installare altoparlanti aggiornati o sostitutivi nei pannelli delle porte del tuo Ram.
Parti e strumenti necessari
Strumenti:
- Cacciavite a croce e a testa piatta
- Punta o cacciavite Torx T-20
- Bussola e cricchetto da 5 mm
- Strumento di leva per pannelli di plastica
- Strumento di leva per clip di plastica
- Coltello per cartongesso
- Saldatore e saldatore (controlla il passaggio 3 per vedere se necessario)
Parti:
- Altoparlanti 6×9" (2 paia se utilizzi la parte anteriore e quella posteriore)
- Metra 72-6514 (opzionale a seconda del passaggio 3)
- Cavo dell'altoparlante (controlla il passaggio 3 per vedere se ti serve)
Come sostituire gli altoparlanti della porta anteriore
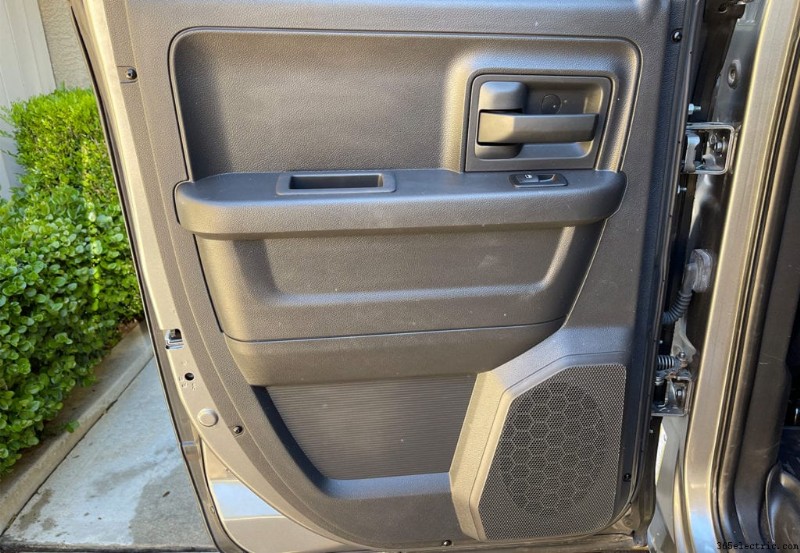
Il primo posto in cui ho iniziato su questo camion sono stati gli altoparlanti della porta anteriore. Per accedere agli altoparlanti devi prima rimuovere il pannello della porta. È piuttosto semplice e veloce.
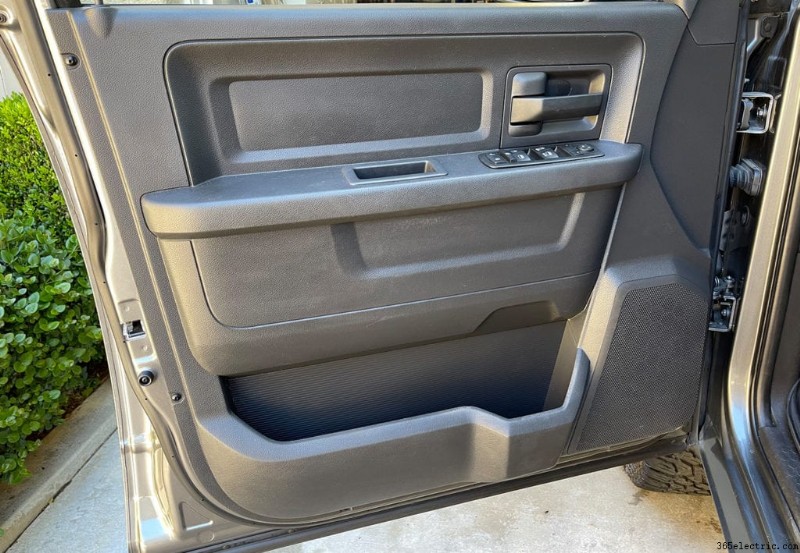
Fase 1:rimuovi il pannello della porta
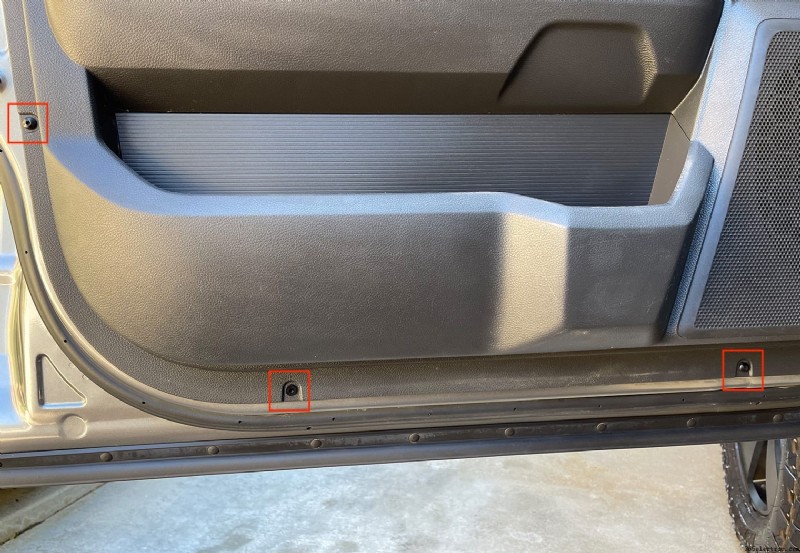
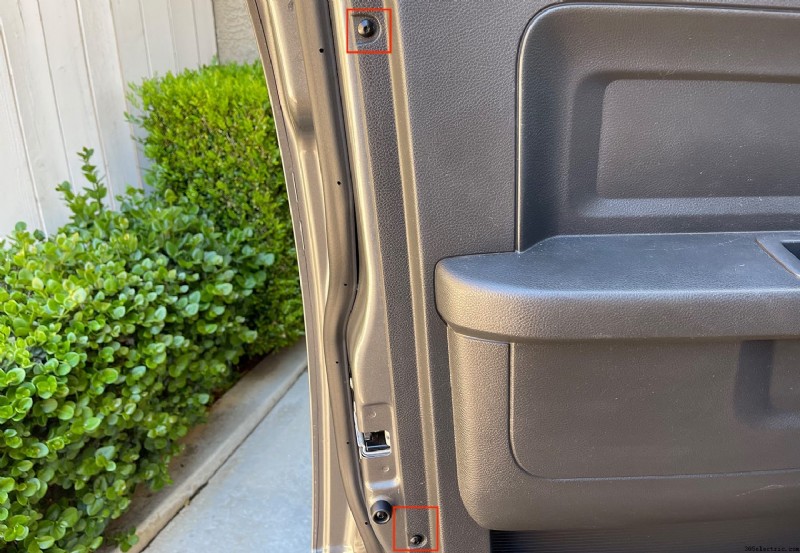
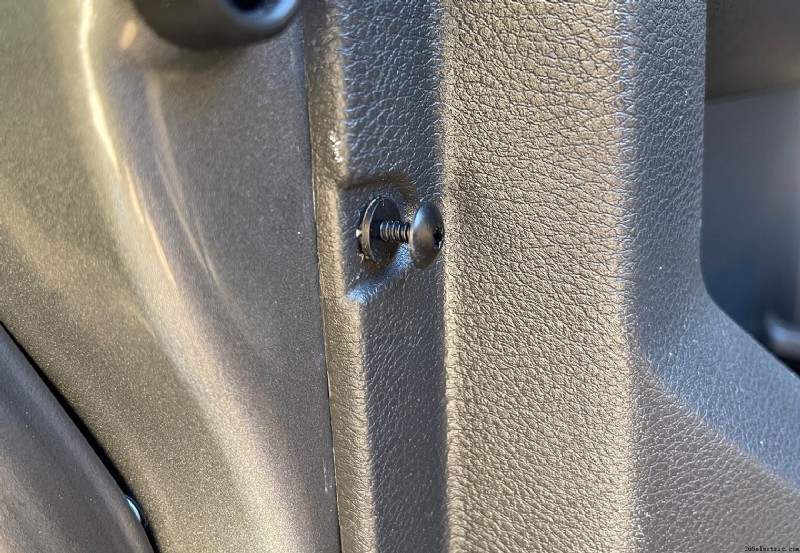
I pannelli delle porte anteriori hanno un totale di 6 clip a vite che ti servirà una punta torx T-20 per svitare e quindi estrarre. Ce ne sono due a sinistra, due in basso e due a destra. Rimuovi tutte queste clip e riponile in un luogo sicuro.
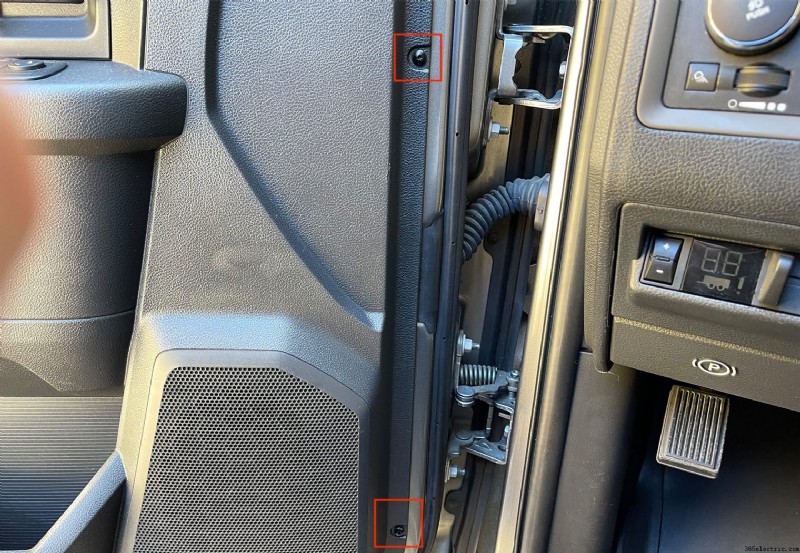
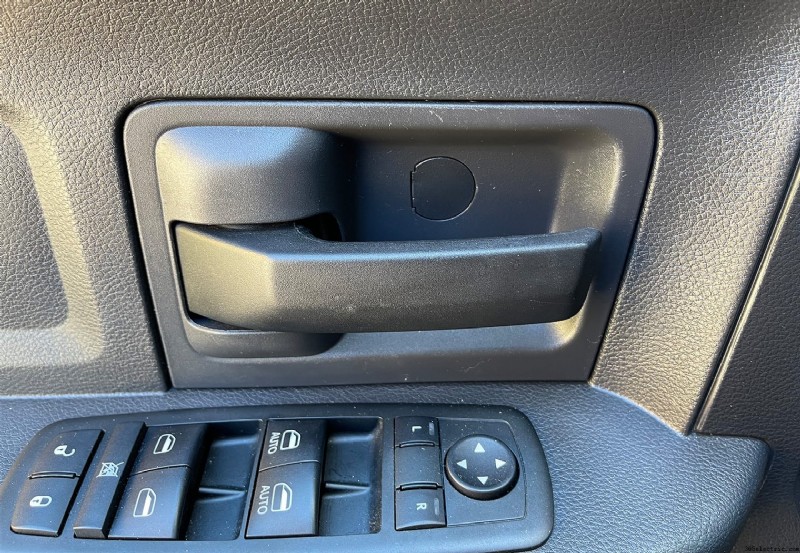
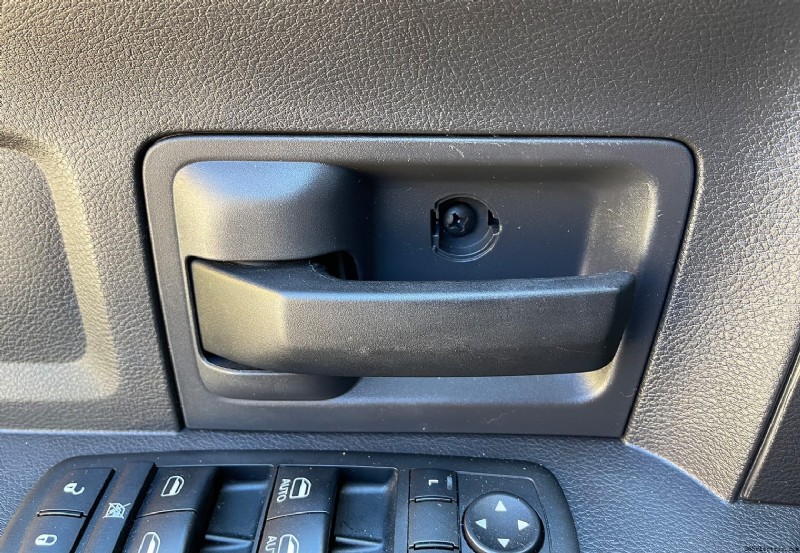
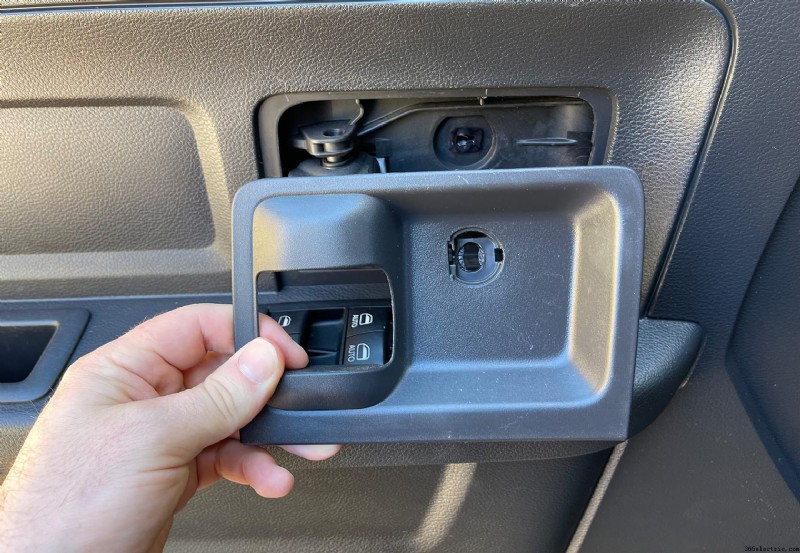
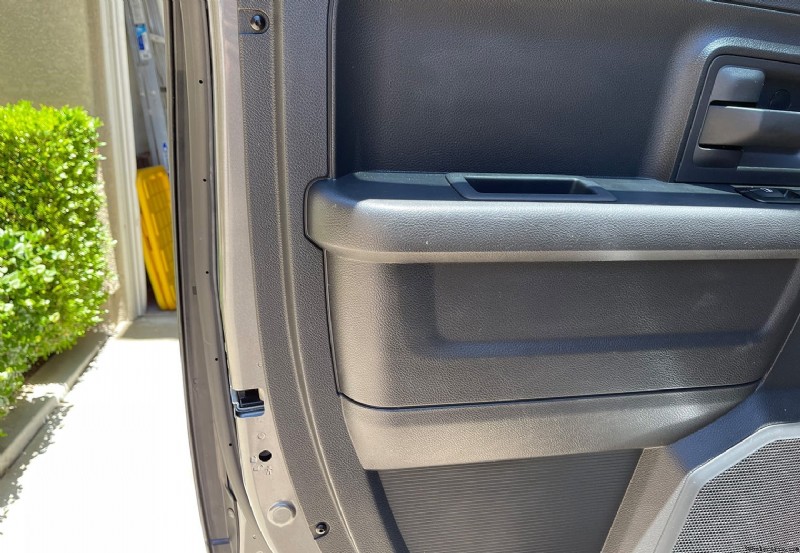
Successivamente, dovrai rimuovere la singola vite Phillips che si trova dietro la maniglia. Utilizzando un piccolo cacciavite a testa piatta rimuovere il coperchio della vite che si trova direttamente dietro l'impugnatura e utilizzando un grande cacciavite a croce, rimuovere la vite. Una volta rimossa la vite, estrai il piccolo pannello che circonda la maniglia.
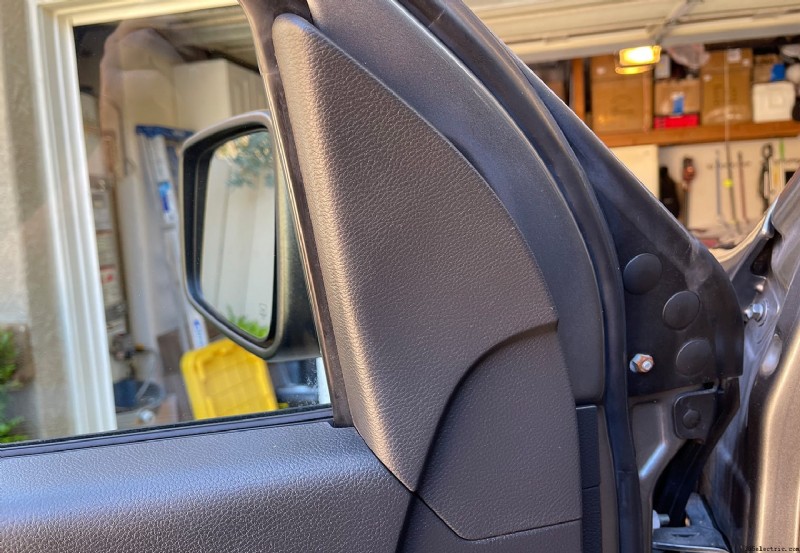
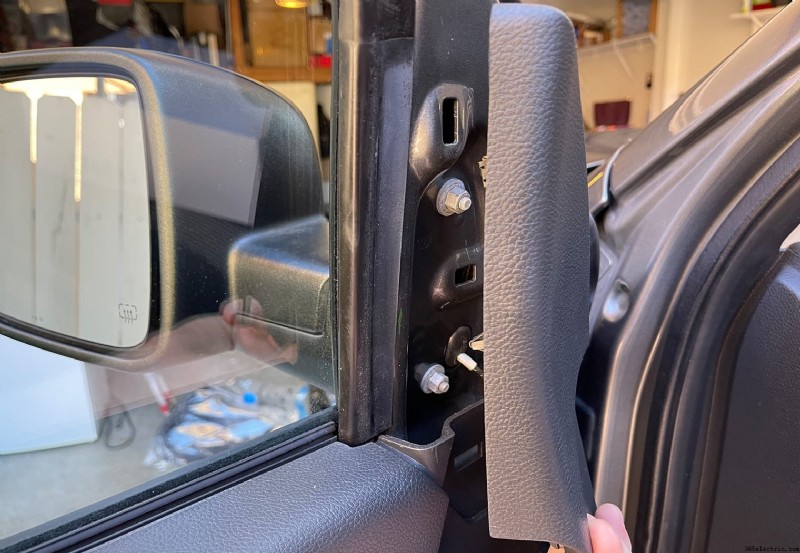
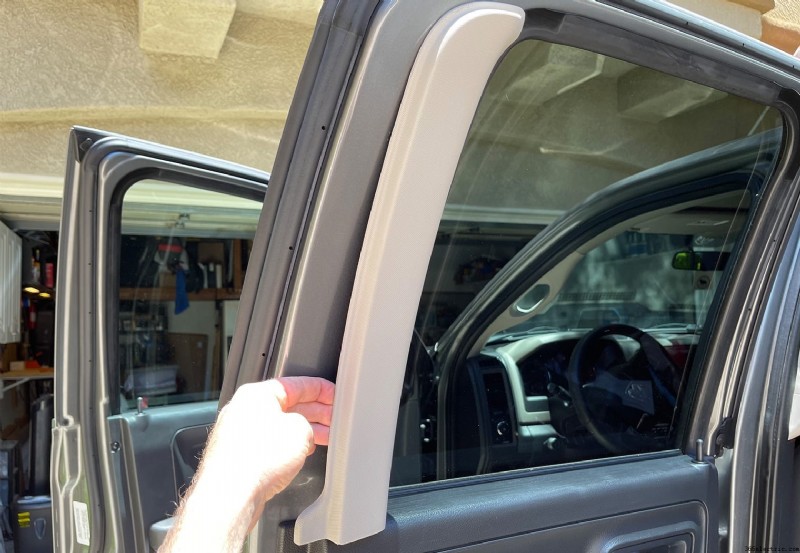
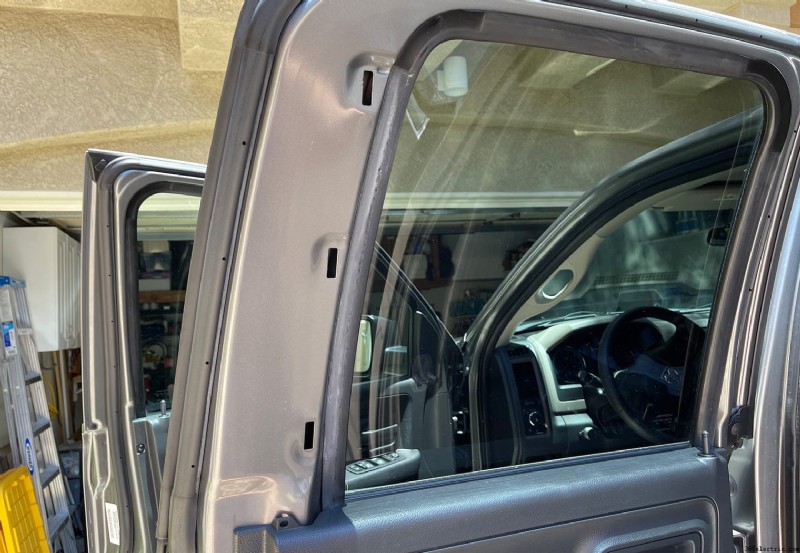
Con tutte le viti rimosse dal pannello ora, dovrai sganciare il pezzo di rivestimento nella parte interna superiore della porta. Fallo tirando verso l'esterno il lato superiore di questo pannello e l'intero pannello verrà facilmente rimosso.
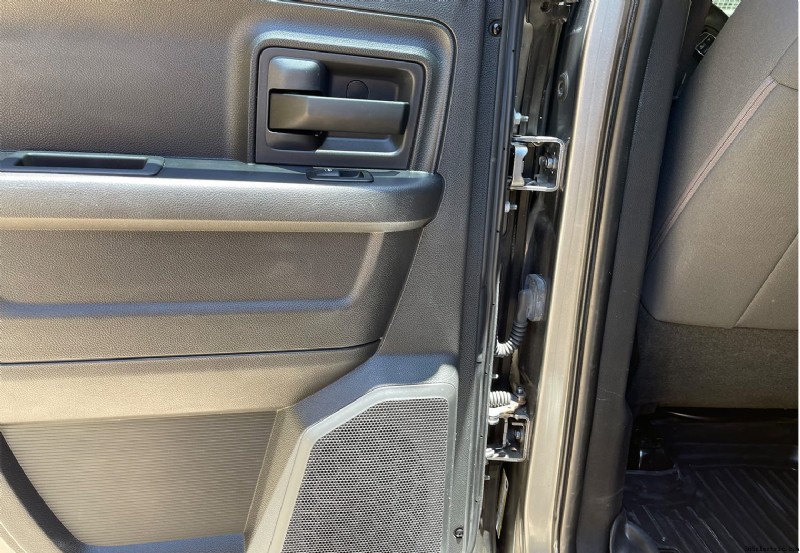
Ora puoi iniziare a rimuovere il pannello della porta in questo passaggio oppure puoi rimuovere il pannello di controllo della finestra/blocco e prima scollegarlo. Ho rimosso prima il pannello della porta e poi ho sganciato il pannello di controllo sulla porta, ma è una tua scelta.
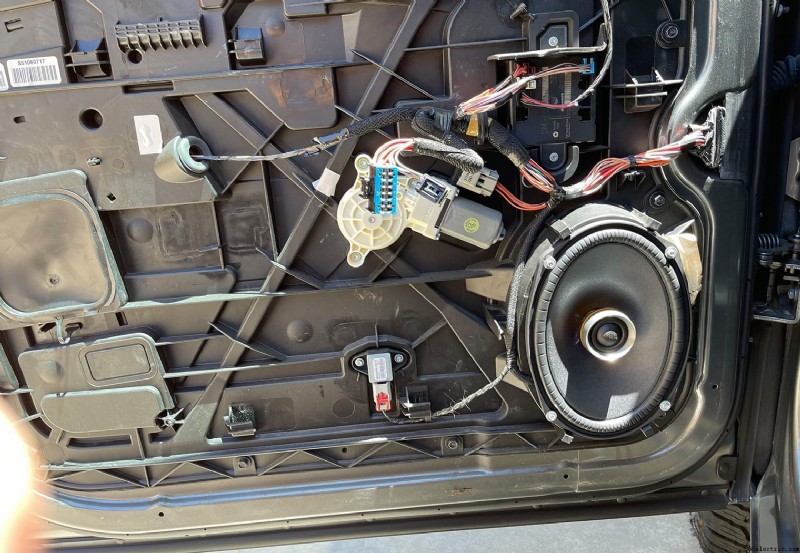
Per rimuovere il pannello della porta a questo punto è sufficiente sollevare il pannello verso l'alto e poi verso l'esterno. Ancora una volta, ho sganciato il pannello di controllo in seguito, quindi le foto sotto mostrano questo. Ma puoi anche usare il tuo strumento di leva per sganciare il pannello di controllo della finestra, scollegarlo e quindi rimuovere il pannello della porta.
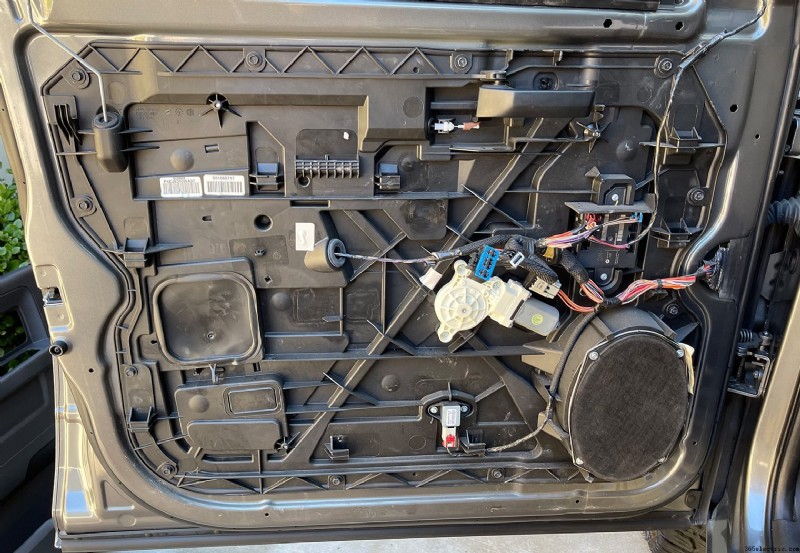
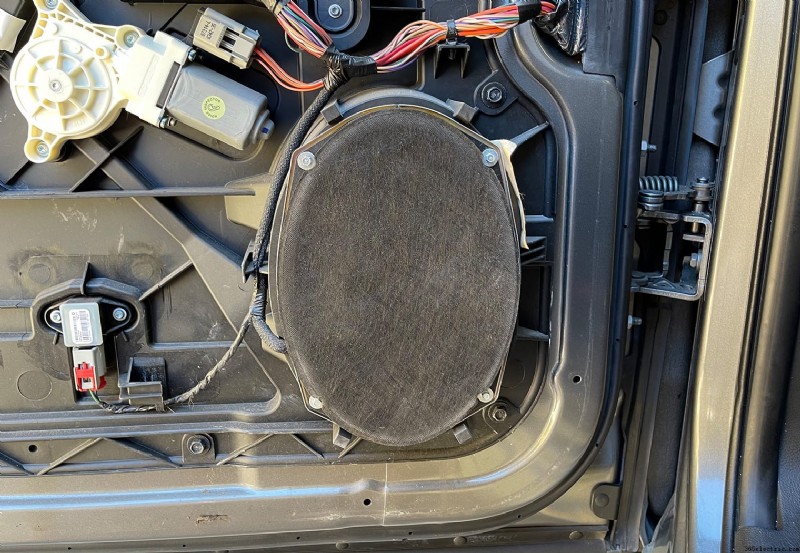
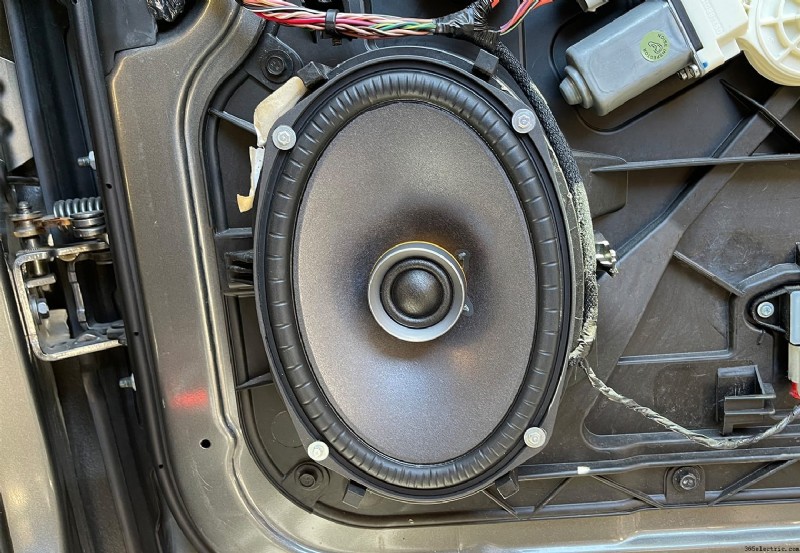
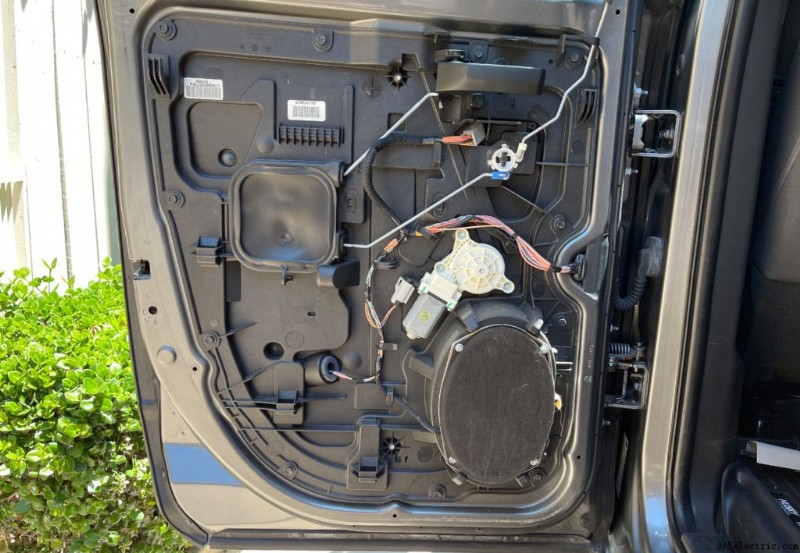
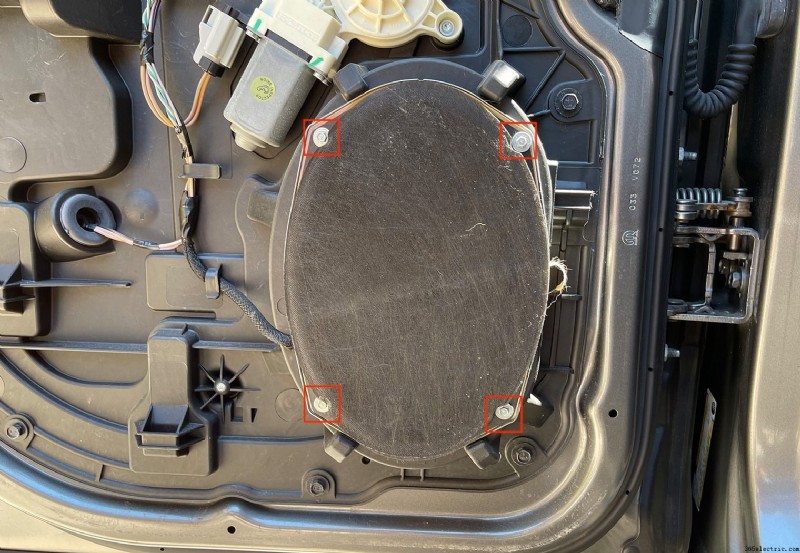
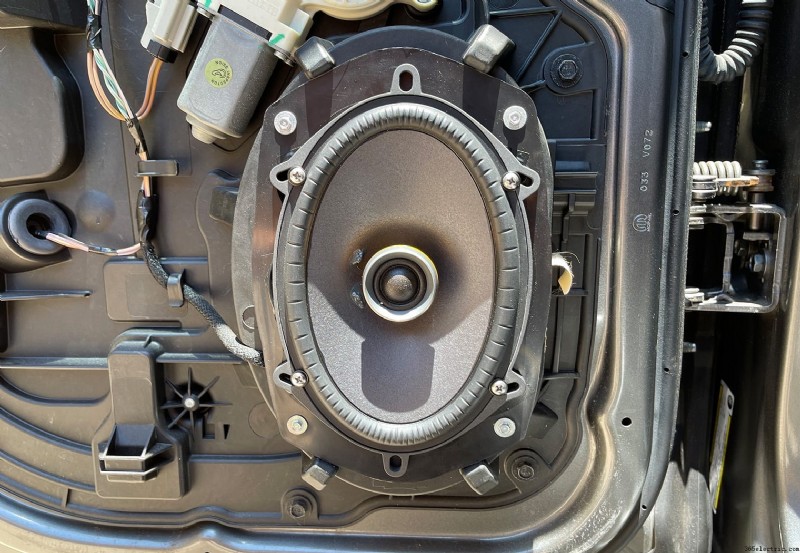
Passaggio 2:rimuovi l'altoparlante
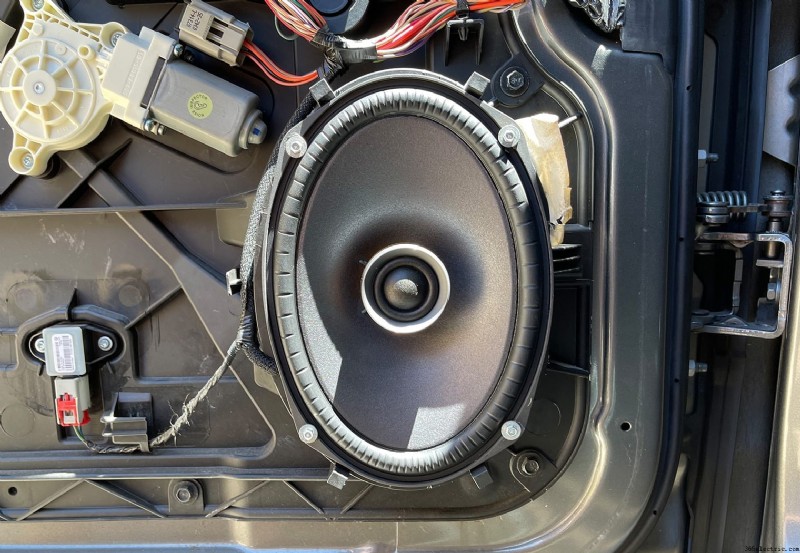
Questa è la parte più semplice di questo processo. L'altoparlante della porta è tenuto in posizione con 4 viti. Ho usato una presa da 5 mm per rimuovere le viti (anche se è probabilmente una dimensione standard). Rimuovere le viti, quindi l'altoparlante uscirà facilmente. Scollega l'altoparlante e rimuovilo completamente dal veicolo.
Fase 3:preparazione di nuovi altoparlanti
Questo passaggio è facoltativo e può essere eseguito in diversi modi. Personalmente, mi piace sempre riutilizzare le clip degli altoparlanti esistenti per creare un adattatore per i nuovi altoparlanti. Se vuoi risparmiare anche $ 15, questo è un buon modo per farlo. L'alternativa è acquistare il 77-6514 di Metra (un set per coppia di altoparlanti). Se scegli di utilizzare gli adattatori Metra, non avrai bisogno di cavi per altoparlanti, saldatori o saldatori elencati nella sezione Parti e strumenti e puoi saltare al passaggio 4.
Ad ogni modo, indipendentemente dal fatto che tu ne costruisca uno come ho fatto io o li acquisti, gli adattatori consentiranno ai nuovi altoparlanti di essere plug and play. Non devi preoccuparti di saldare l'altoparlante in posizione sulla porta o di collegare in altro modo il nuovo altoparlante con uno spazio limitato sulla porta.
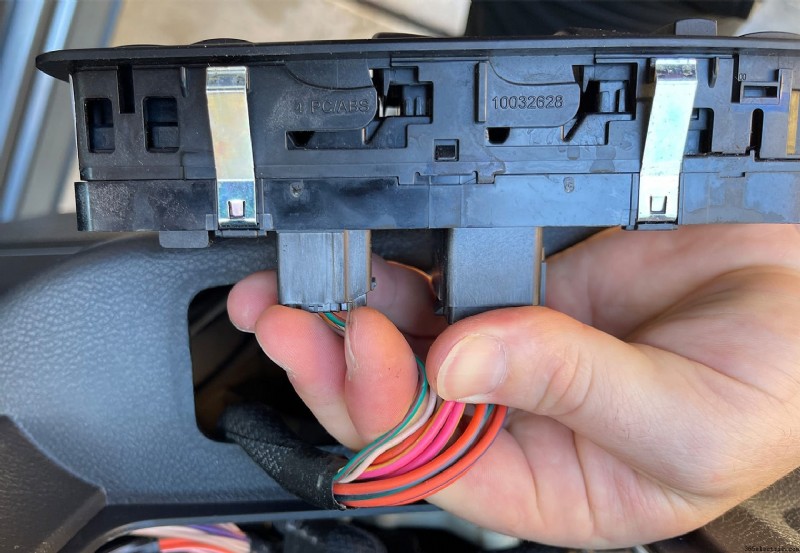
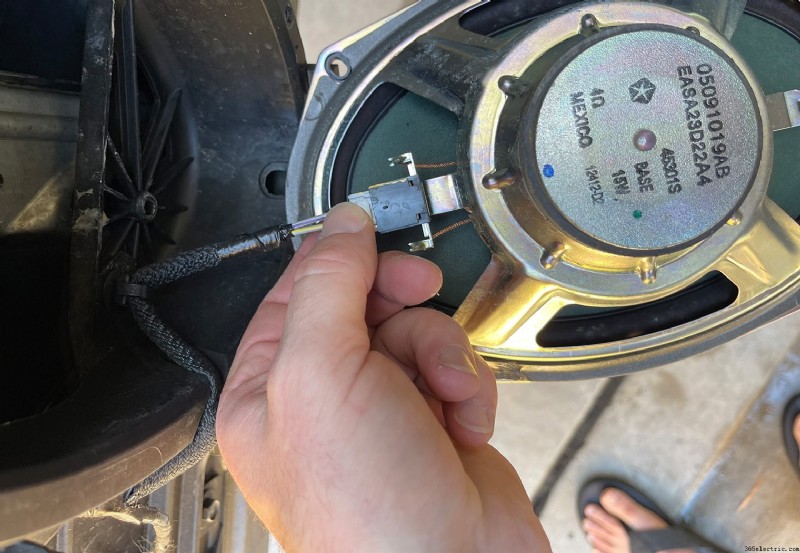
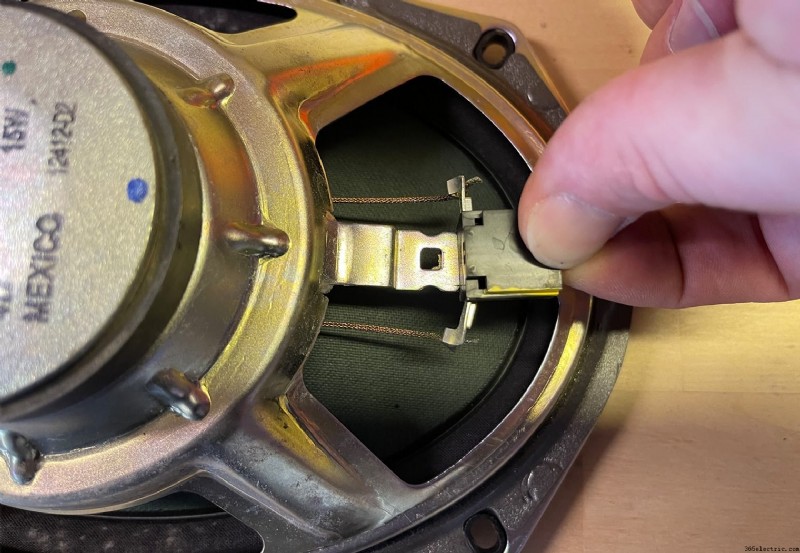
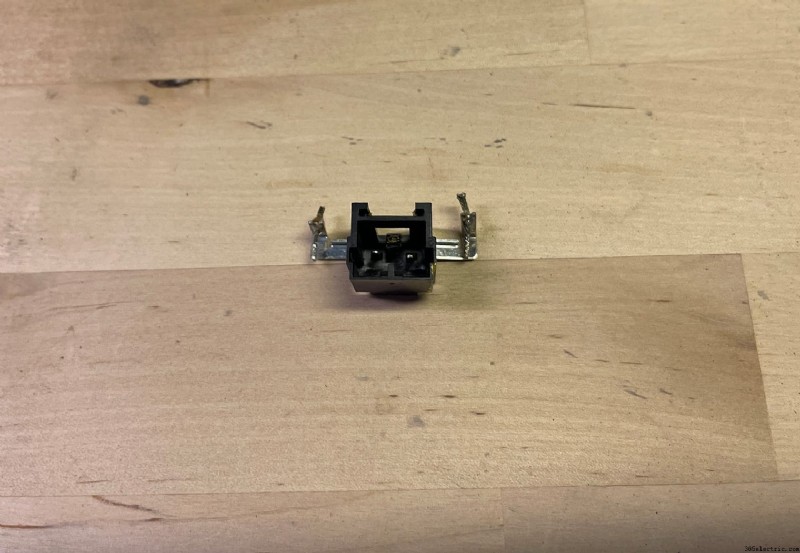
Per creare i tuoi adattatori, la prima cosa che devi fare è tagliare i fili sul retro della spina che si trova sull'altoparlante (non nella tua porta!), quindi utilizzare un cacciavite a testa piatta per sganciare la spina dal telaio dell'oratore.
Con la spina rimossa, ora devi capire quale lato della spina è positivo e quale lato negativo in modo da sapere come collegarlo al tuo nuovo altoparlante. Per fare ciò, riporta la spina rimossa al pannello della porta e collegala. Quindi, usa i seguenti colori dei cavi per identificare quale lato della spina è positivo e quale lato è negativo:
- Cavo dell'altoparlante anteriore sinistro (+):grigio/viola
- Cavo dell'altoparlante anteriore sinistro (-):grigio/giallo
- Cavo dell'altoparlante anteriore destro (+):verde scuro/viola
- Cavo dell'altoparlante anteriore destro (-):verde scuro/giallo
Segna il lato positivo in modo da poterlo collegare correttamente al tuo nuovo altoparlante. Nel mio caso, la spina era già contrassegnata sul lato positivo tramite un pennarello giallo. Il tuo può o non può esserlo. Con la spina contrassegnata, ora puoi iniziare a preparare e collegare la spina al tuo nuovo altoparlante.
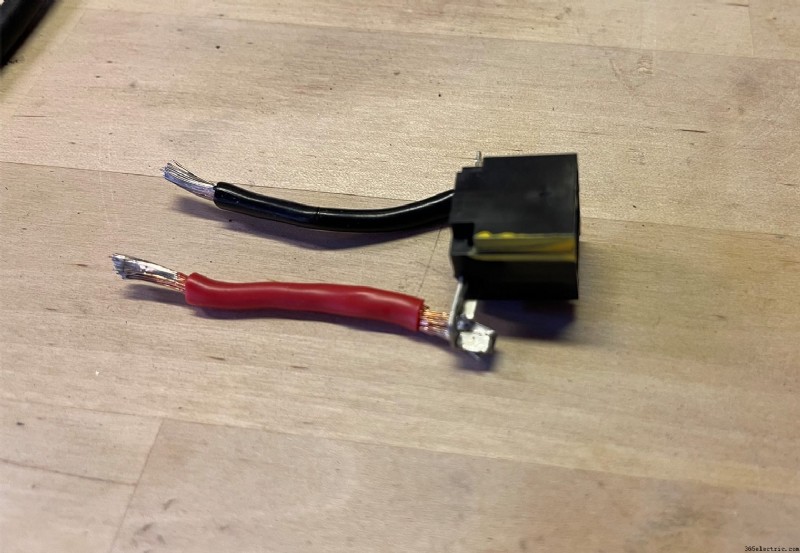
Per fare ciò, utilizzare un saldatore per rimuovere il vecchio filo dell'altoparlante e stagnare la spina con un po' di nuova saldatura. Quindi, utilizzando un filo da 2-3″, saldare i fili positivo e negativo alla spina.

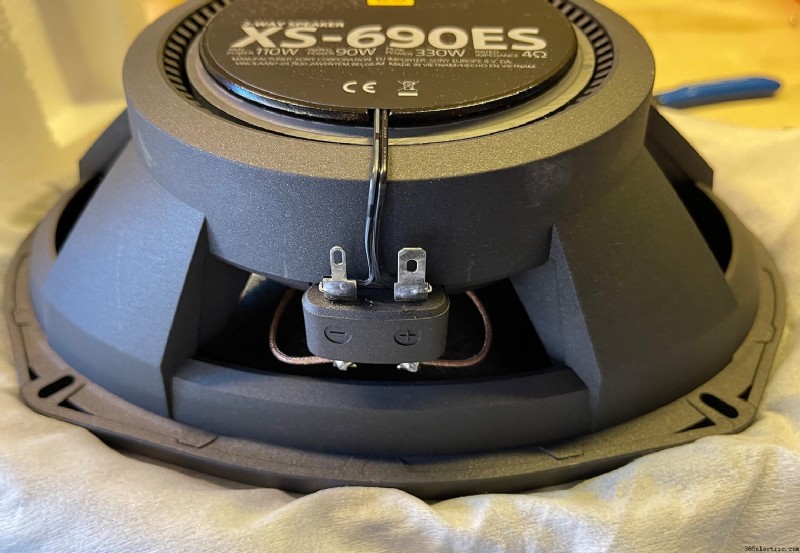
Dopo aver preparato la spina dell'altoparlante, ora la colleghi ai terminali degli altoparlanti. L'ho fatto saldandolo direttamente ai terminali dell'altoparlante Sony che stavo usando.

Ti consigliamo di farlo su tutti gli altoparlanti che stai installando contemporaneamente probabilmente per ottenere il massimo dal tuo tempo.
Fase 4:installa i nuovi altoparlanti
Con gli altoparlanti preparati, l'installazione è semplice come la rimozione per la maggior parte degli altoparlanti. Devi semplicemente collegare il tuo nuovo altoparlante e riavvitarlo.
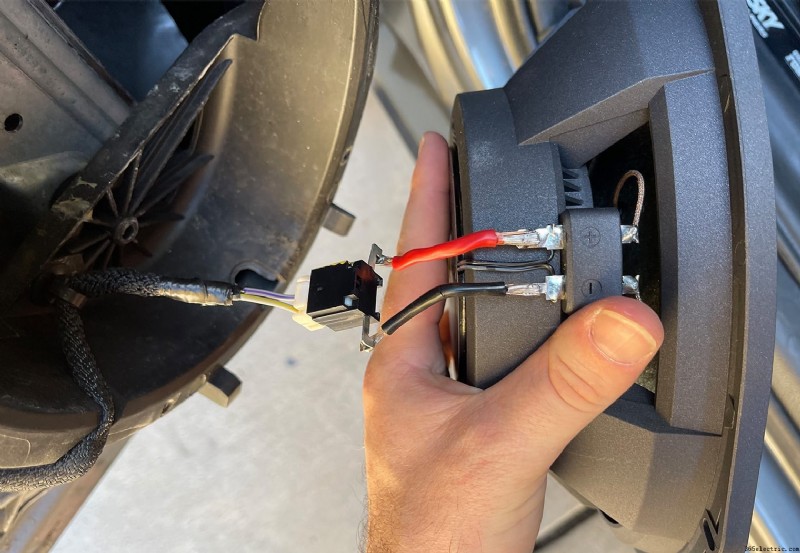
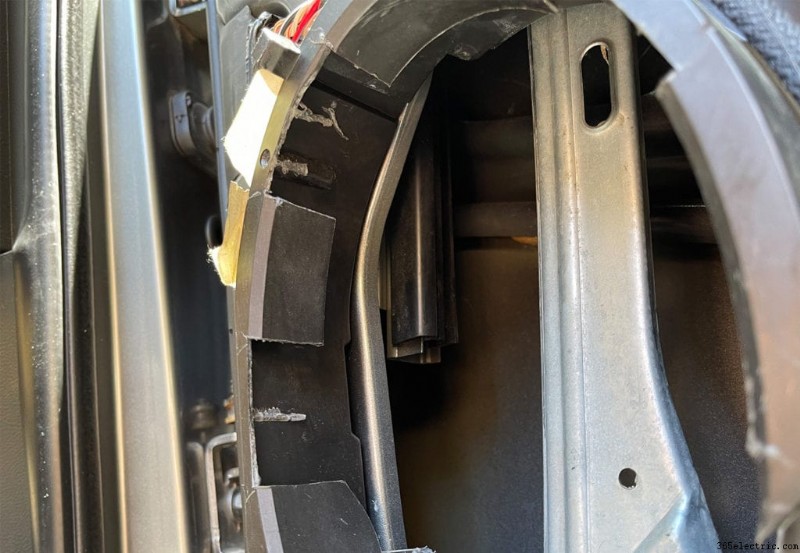
Tuttavia, se decidi di installare la Sony XS-690ES 6x9 che ho scelto di installare, dovrai modificare il supporto del pannello della porta per adattarlo all'involucro a cinque raggi. Questo non è tipico, tuttavia questi altoparlanti non sono come tutti gli altoparlanti e hanno una cornice più grande della maggior parte.
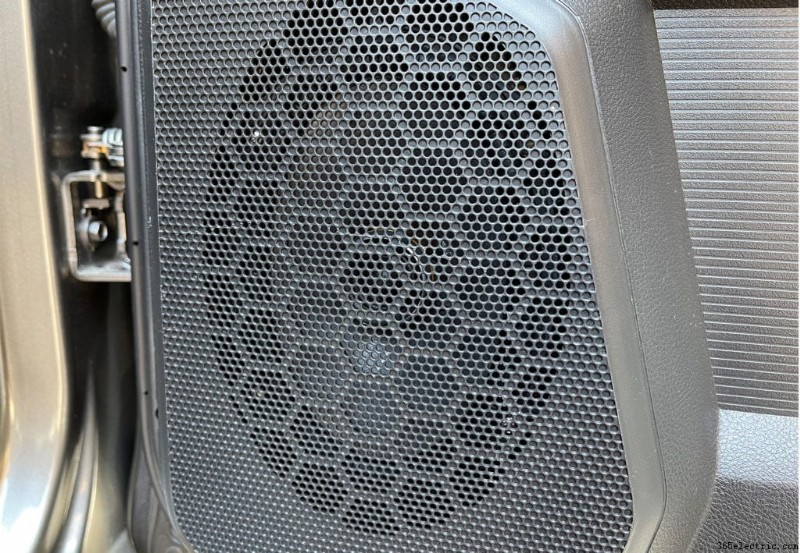
If you don't want to go through this process, you can take a look at some speaker alternatives listed on our best 6×9 speaker buying guide. Most speakers will not have a deep and wide frame like these Sonys and should just slide right in. The end product should look something like this!
Step 5:Re-Install Door Panel
With your speakers installed, turn on your stereo first to test out the sound of your speakers and ensure that everything is working as expected. If everything sounds good, re-install the door panels in the reverse order as described in step 1.
How to Replace the Rear Door Speakers
The process for changing out the rear door speakers is nearly identical to the fronts that I walked through above. The only difference is really the door panel but the process is the exact same. I'll go through the rear doors here with a little more brevity than I did the fronts.
Step 1:Remove the Door Panel
On the rear doors of this quad cab there were 5 torx screw clips (vs the 6 in the front door panel). Remove these 5 clips using a T-20 torx bit and a clip puller or prying tool.
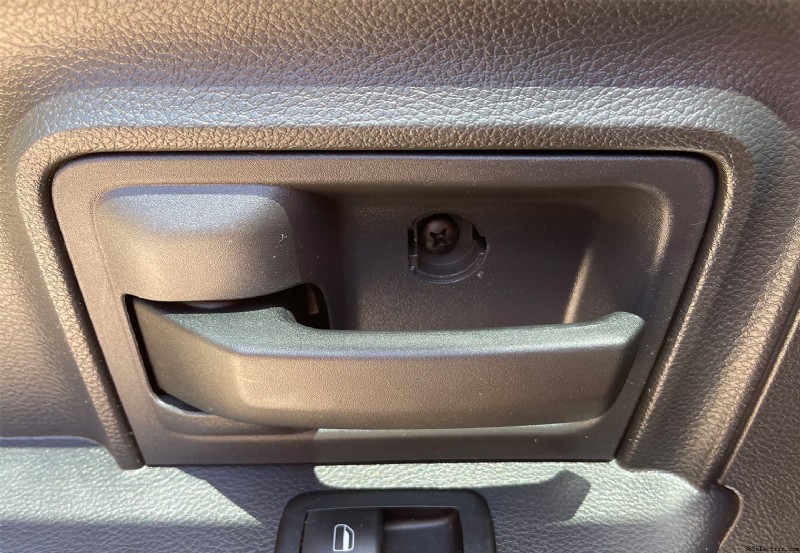
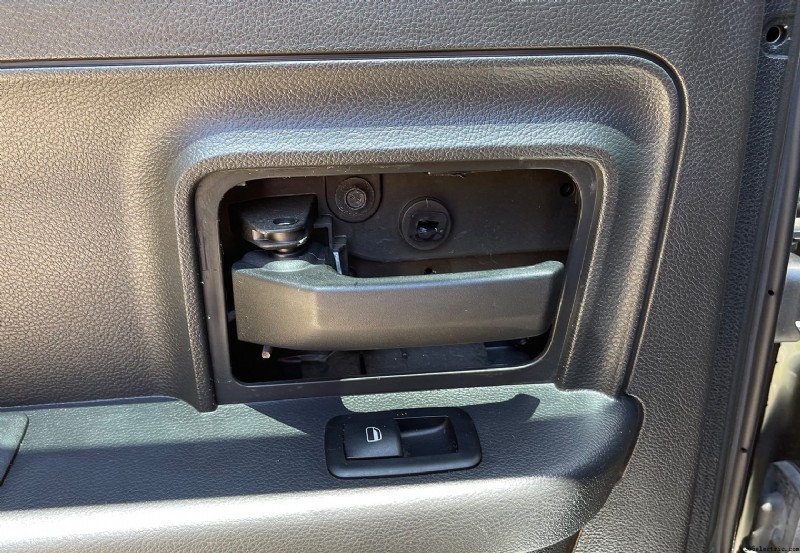
With these clips removed, locate and remove the phillips screw that's behind the door handle. Remove the cover first to expose the screw using a small flathead then remove the screw. With the screw removed, you'll then remove the trim piece that surrounds the handle.
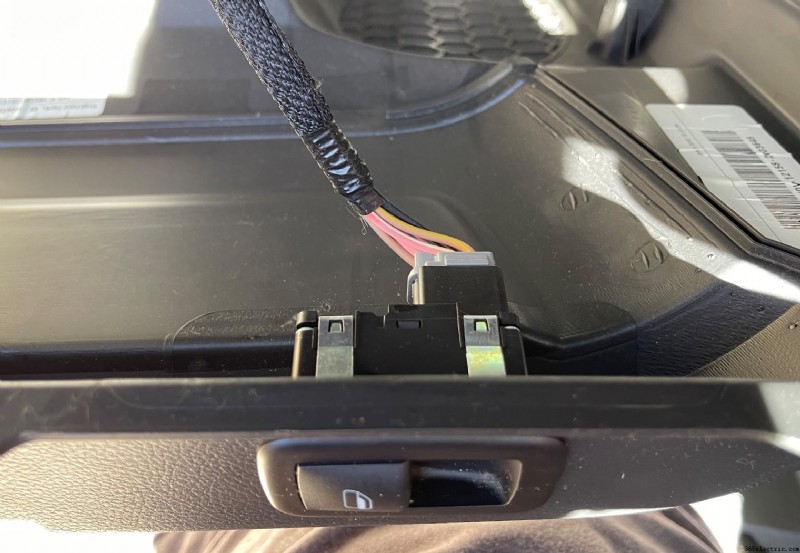
Next, remove and unplug the window control. You can do this either now or after you lift the door panel off the door. It's up to you.
Finally, remove the trim piece that's above the panel on the outer edge of the door by simply pulling on it. It will unclip and remove relatively easily. Set it aside in a safe spot.
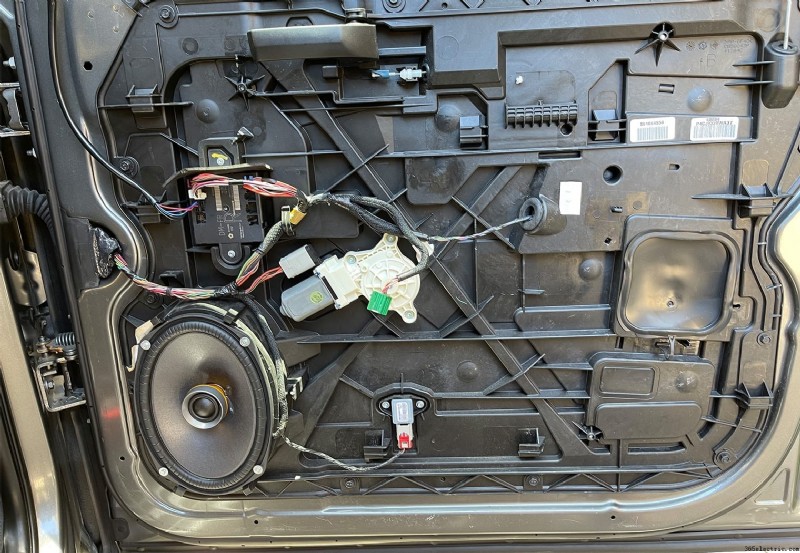
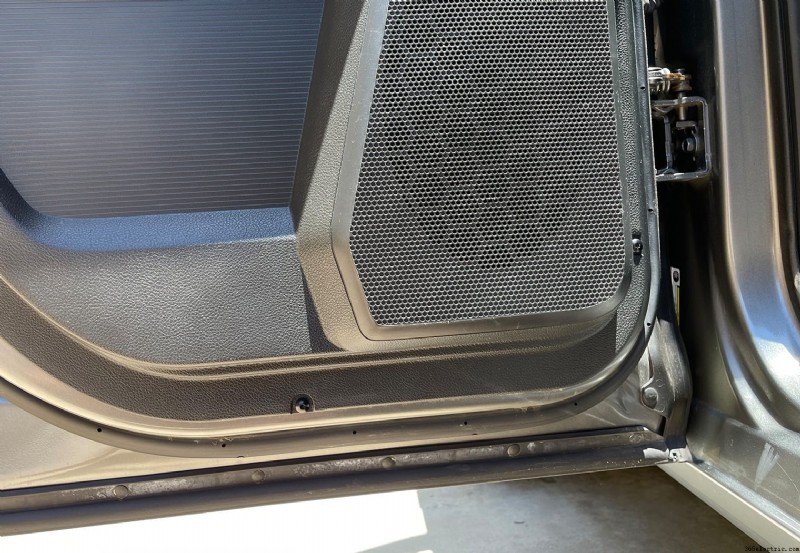
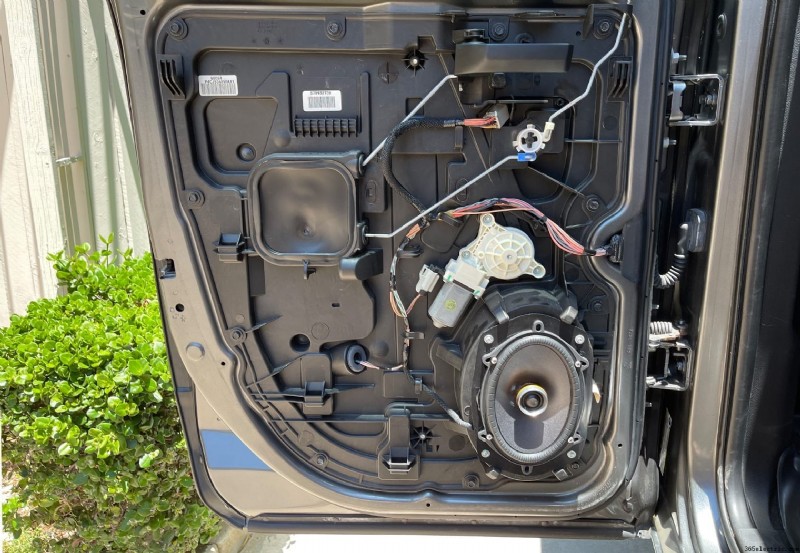
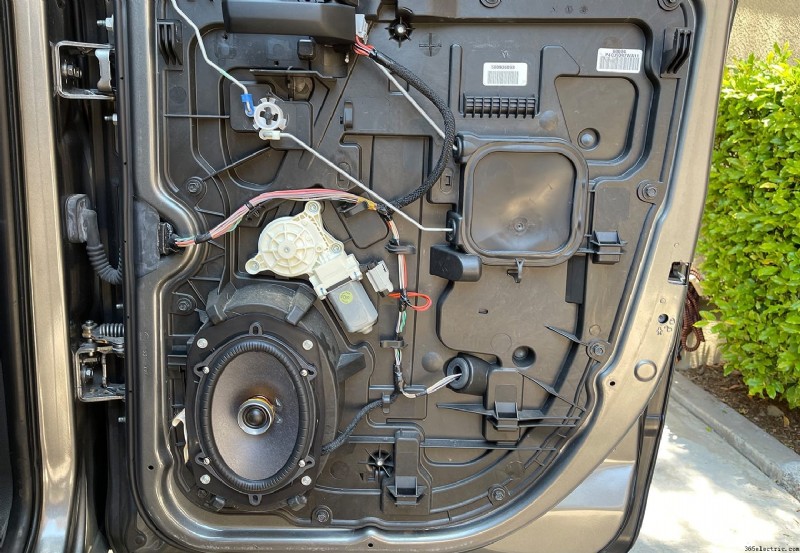
At this point, you can remove the door panel. Do this by simply lifting upwards and outwards on the door panel and it should lift right off. There should not be any additional clips or screws holding the panel to the door. This will expose the speaker and underlying door components.
Step 2:Remove the Speaker
Like the front door speakers, the rear door speakers are 6x9s and held into place by four screws. I used a 5mm socket to remove the screws. Once the screws are removed you can begin to remove the speaker from the door panel and unplug it from the harness.
Step 3:Prepping New Speakers
Please follow the steps in Step 3 of the Front Door Speakers. The only difference will be the wiring colors you'll use to match the positive and negative side of your OEM plug to your new speaker terminals (if you choose to wire them yourself). If you are using Metra's 77-6514, then you can simply connect the adapters to the speaker terminals on your new speakers and proceed to step 4.
For reference, the speaker colors on the rear doors are as follows:
- Rear Left Speaker Wire (+):Gray/Dark Green
- Rear Left Speaker Wire (-):Gray/Light Green
- Rear Right Speaker Wire (+):Dark Green/Gray
- Rear Right Speaker Wire (-):Dark Green/Light Green
Step 4:Install the New Speakers
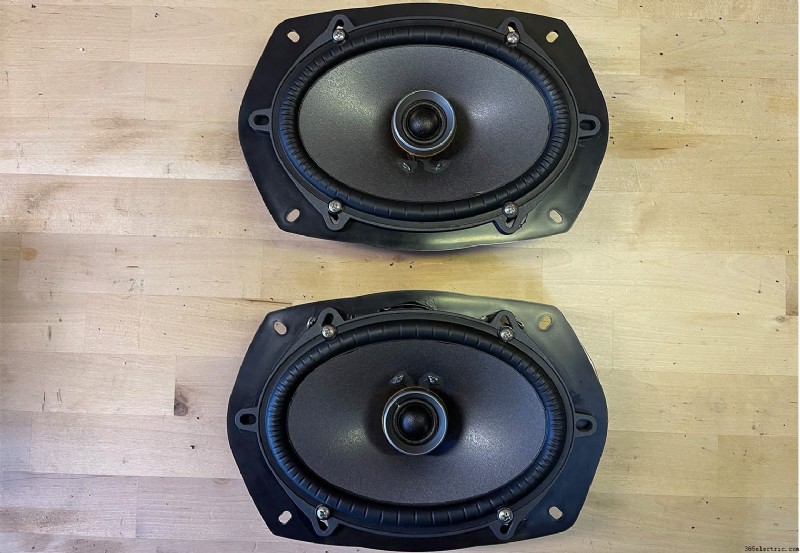
With your new speakers prepped with their plug, you can now simply plug them into the OEM harness and screw the new speakers back in. In the images below, I actually used Sony's 6×8 speakers instead of 6x9s using a speaker adapter plate to mount them. If your installing 6x9s you'll simply screw them directly into the OEM mounting position.
If you decide to install the Sony XS-690ES 6x9s in the rear, just like I mentioned while installing them in the front door panels above, you'll have to alter the OEM mounting in order to fit the five-beam structure into the OEM mounting position by cutting out slots for the beams. This won't be necessary for most other 6×9 inch speakers.
And if, for some reason, you want to use a 6×8 you'll need cut out the adapter plate and mount the 6×8 speaker to the plate. Then, you can install the speaker in the 6×9 location. My recommendation would be to just purchase a 6×9 if you haven't already. But, if you have 6x8s handy like I did, here's what the added step looks like.
First, cut out the adapter plate to fit the 6×8 speaker. Then use the rear mounting plate that your speaker came with to mount the speaker to the plate. These adapter plates will adapt a 6×9 to a 6×8, 5×7 or a 6.5″ speaker so you need to cut it out to fit a 6×8 specifically.
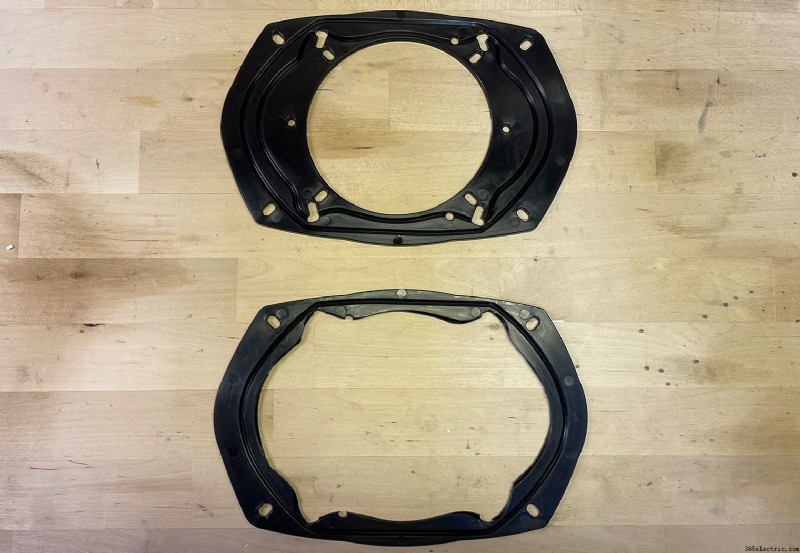
Once that step is completed, you can just mount the 6×8 and its adapter straight to the 6×9 opening. Again, if you're installing a 6×9 in the rear you can disregard the adapter plates and this added step. Here's the end result.
Step 5:Re-Install Door Panel
With your speakers installed in the rear door panels, turn on your stereo first to test out the sound of your speakers and ensure that everything is working as expected. If everything sounds good, re-install the door panels in the reverse order as described in step 1.
Conclusion
Overall, this installation was pretty straight forward and easy to do. The hardest part was fitting these high performance Sony speakers into the OEM mounting location since the frame of the speakers is wider than the OEM 6×9 speakers. An alternative to cutting out the OEM mounts like I did would be to try a set of 6×9 inch mounting spacers. I didn't try this but it's pretty common and might resolve the frame width problems a bit. Without this modification, it would have cut out an hour or so of my time. The installation, in general, is a perfect DIY for a Saturday and should be doable for even a novice.
After the speakers were installed, wow what a difference. Significantly cleaner, louder, fuller sound than the OEM speakers. I was really surprised with the volume and sound quality with just the head unit power from Sony's XAV-AX8100 too. This wasn't an amplified system and I don't think I really want to amplify it after hearing it. Combined with Sony's XS-AW8 that I previously installed under the driver seat, this is a really great setup that's ideal for a DIYer!